Cheap Ignition Advance
Okay, here's my first 'how to'.
This is a cheap alternative to the $50+ offset woodruff key that Factory Pro sells to increase base ignition advance. Adding advance will give the engine more punch throughout the rev range.
One advantage of this is that the engine will properly time (by the book) if you have the cams out, or if you adjust/degree cam timing..without having to remove the flywheel and re-install the stock flywheel key.
Plus, it's cheap.
I had done this previously..but had to replace my stator last fall and wanted to ride so I didn't get around to it..just put the stator in with the stock(unmodified pickup) and went riding. I meant to get to it, but didn't. Been raining a lot lately, had a day at home and so did it and took pictures.
You will need:
- Inductive timing light with tach and advance function.
- Dremel tool/die grinder, narrow grinding bit, large grinding bit
- allen wrenches/sockets
- good #2 phillips head
- good flat blade screwdriver
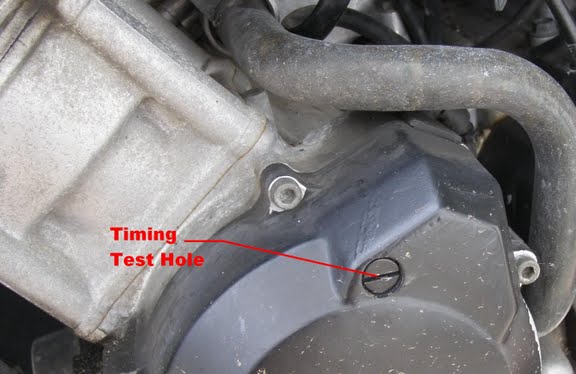
Ever wonder what this screw is about?
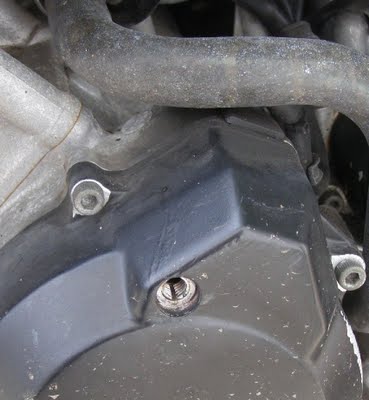
It is, as labeled, the timing test hole. Get the screw out.
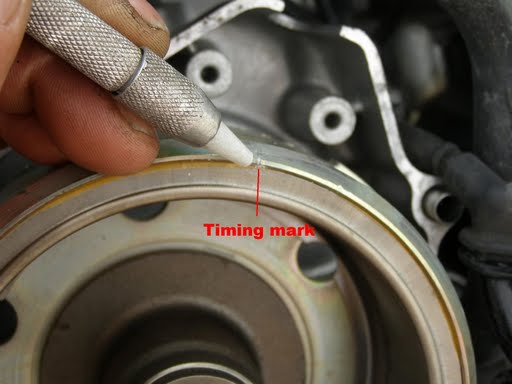
Remove the stator cover, Remove the stator cover,
And, highlight the timing mark with soapstone or a sharpie. And, highlight the timing mark with soapstone or a sharpie.
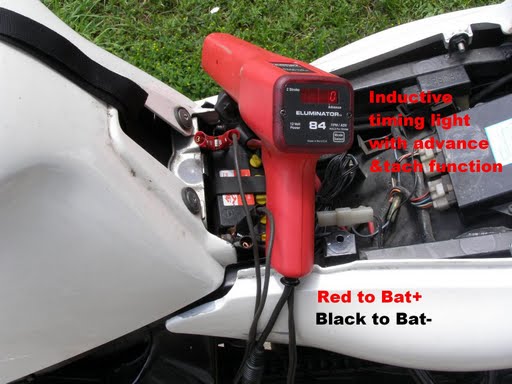
Hook up the timing light (as labeled-red lead to Bat+…black lead to Bat- ) Image
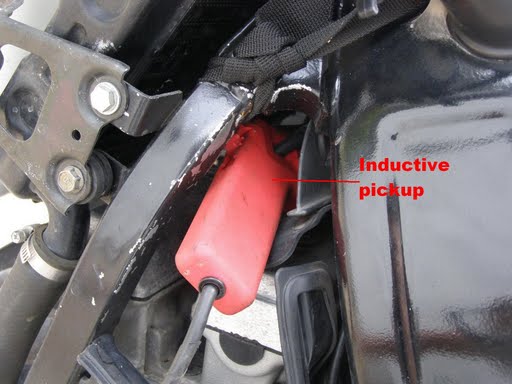
And, inductive pickup to #1 spark plug wire(making sure the side that says “Spark plug side” is indeed toward the spark plug):
Start the bike and let warm up until it idles nice. Use the timing light's tach function to check RPMs. You may need to switch the timing light's tach to “2 stroke” setting as we have waste spark and on “4stroke” mode it will read double revs. I set my idle to 1400rpm for this test/adjustment.
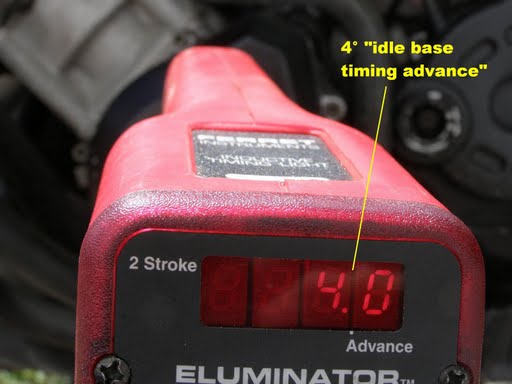
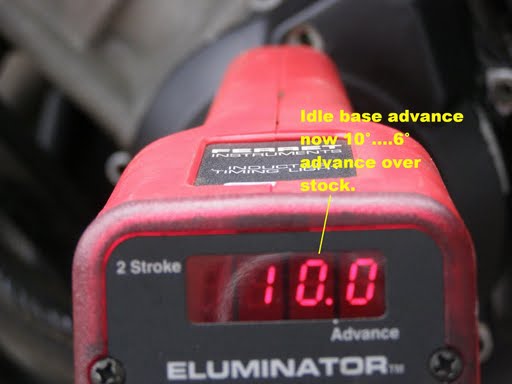
Point timing light in 'timing test hole'. Add degrees of advance(mine has two buttons..one scrolls timing 'up', the other 'down') in with the timing light one degree at a time, while watching for timing mark. I found it and added advance until the mark was at the very front/left of the test hole. This was 4° and is “idle base timing advance” :
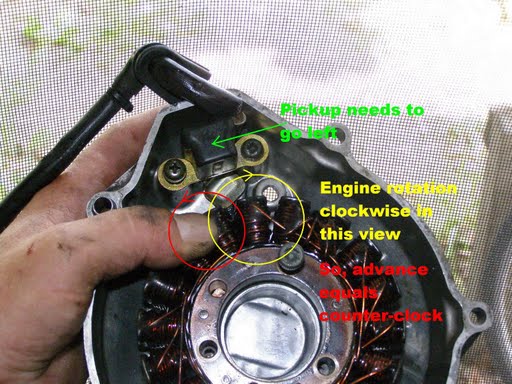
The goal is to increase “idle base timing advance”. The factory pro offset key adds 5°. As you can see in the next picture….looking into the stator cover, the engine rotates clockwise. Advance will be counter-clockwise. SO, we want to move the pickup coil left. You can also see that the pickup coil mounting screws(phillips head) wanted to strip-so get yourself two stainless 5mm x12mm allen screws to replace them.
==== EDITOR'S Note: ==== use a good anti-seize paste on the threads to stop inter-metal corrosion NOT PLAIN GREASE and use star washers to stop them from backing out !
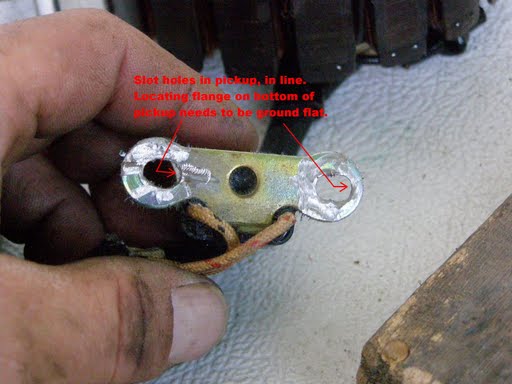
Get the dremel/die grinder out. On the 'back' side of the pickup will be a flange around each mount screw hole. Grind this flush with a larger grinding stone. Use a sharpie and a ruler ..or masking tape to define the 'line' that would be parallel with the edges of the holes. This will be your grinding guide. Grind the holes out to the right (as looking at the back of the pickup). Keep testing the holes for fit with the new stainless screws. You are DONE when the allen head just clears the pickup coil body on the left side of the pickup(looking from the front/near side as installed).
Clean ALL metal filings/shavings from the pickup and stator.
Reinstall as normal(blue loctite on pickup coil and stator mount screws). Start bike and warm up until nice idle is achieved. Adjust to first test RPM (1400rpms in my case).
Use timing light to 'find' the mark…add timing at the light until mark is in same part of hole (in my case front/left of hole).
As you can see….I added 6°to my “base timing advance”. FOR FREE. IN 30 MINUTES. It is quite enough to make a difference. The test ride was fun….barely wet roads, wheelspin and lighter front end. :-}
For those of you who asked the timing light is from Ferrett see:-http://www.ferretinstruments.com/CategorySelect/TimingLights.html

