Okay, so i have not gotten any tips or comments so i went ahead and pulled the motor and took her apart and do a rebuild as needed. I am going to attempt to put a step by step process in here for others to use and for any comments or tips from other users. If there is anything i missed or left out please comment on what it was so others can accomplish this with ease. Also, im still a little new at bike motors and no mechanic, so any and all help would be appreciated.
Start with draining all fluids and disconnecting all plugs and wires connected to the motor. Most of them are simple male/female connectors, with the acception of the starter. I didnt take picture of these steps. If you cant figure out what to disconnect or how to drain, you should seek a mechanic for help. Good Luck
Motor pulled, theres 4 motor mounts to remove. 2 small ones on the left and right up on the 2 side frames, you need to remove them to pull off the side frames, along with disconnecting the side stand safety switch.

You should pull the motor off the right side after you remove the two motor mounts in the rear. Make sure you have a jack under it before you remove them!

The motor alone.

Remove the oil feed line, 2 bolts and a allen bolt for safety.

Remove the 8 bolts that hold the valve cover down.

Remove the stator cover, carefully there is a short wire in there, as soon as it is away you can slide the wire and guide off the motor to remove it.


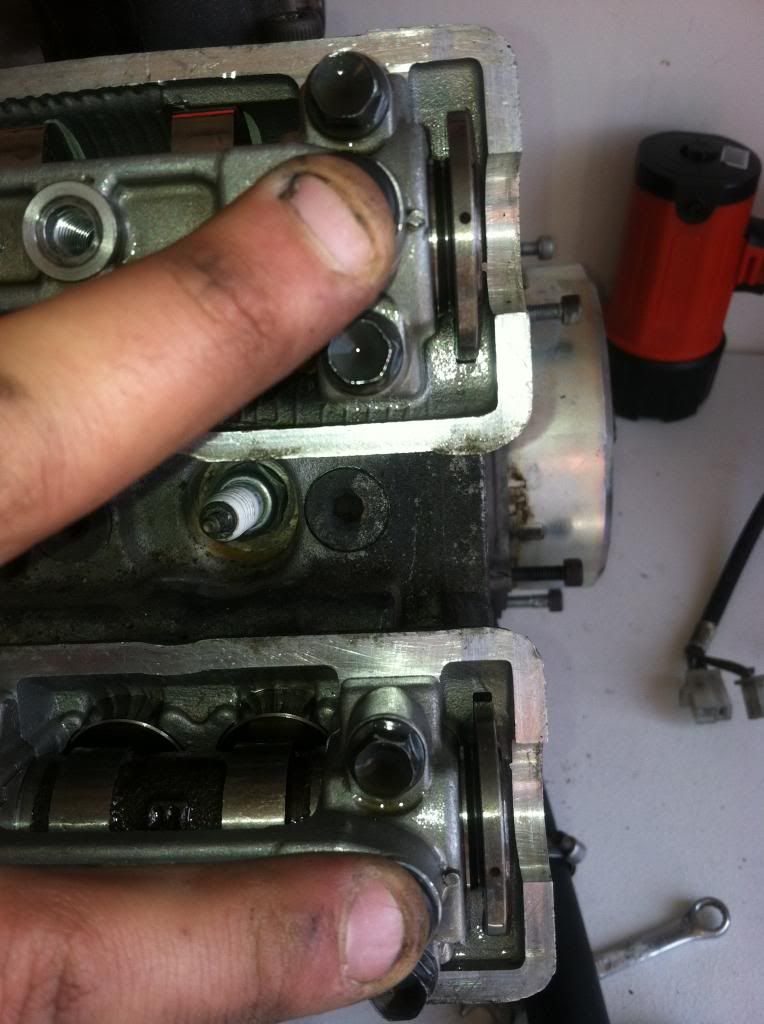
Align the T line to the line on the front side to aligh top dead center

Make sure these dots line up, that indicated top dead center as well.
Remove the 2 alen bolts that hole the tensoner in place.

Remove the valve cover and gasket.

Remove the timing chain guide. 4 bolts 8mm.


Remove the valve guides. Make sure to use a cross pattern and only do a 1/2 turn at a time until they come out all the way. Time consuming, but better than having to replace them.

Theres 2 ways to take the chain off acording to the manual. I chose #2, without cutting the chain. Remove the 2 bolts on the intake sprocket.

Push the sprocket to the right and the chain comes off easy, pull both shafts out and make sure to tie off the chain to ensure it does not fall into the motor.


Size 6 allen bolts hole the block down. Remove them in the same manner as the valve guides. Cross pattern and only 1/2 turn at a time as to not crack the aluminum.

Pull the top end off the motor carefully, there will still be a little oil and antifreeze in the block. Dont mix well!!! Be mindful of the chain as you remove it from its home! Take off the gasket at the same time.

Then the bottom end will just come off the motor, again be mindful of the chain and chain guide as you remove it.

Be cautious with the pieces you take off, clearly mark them and keep them organized!

Replace your gaskets, clean everything off, get rid of all carbon if possible, reset the valves or buy new shims if you need them. then put it all back together and fill up the fluids and fire her up. Good luck!
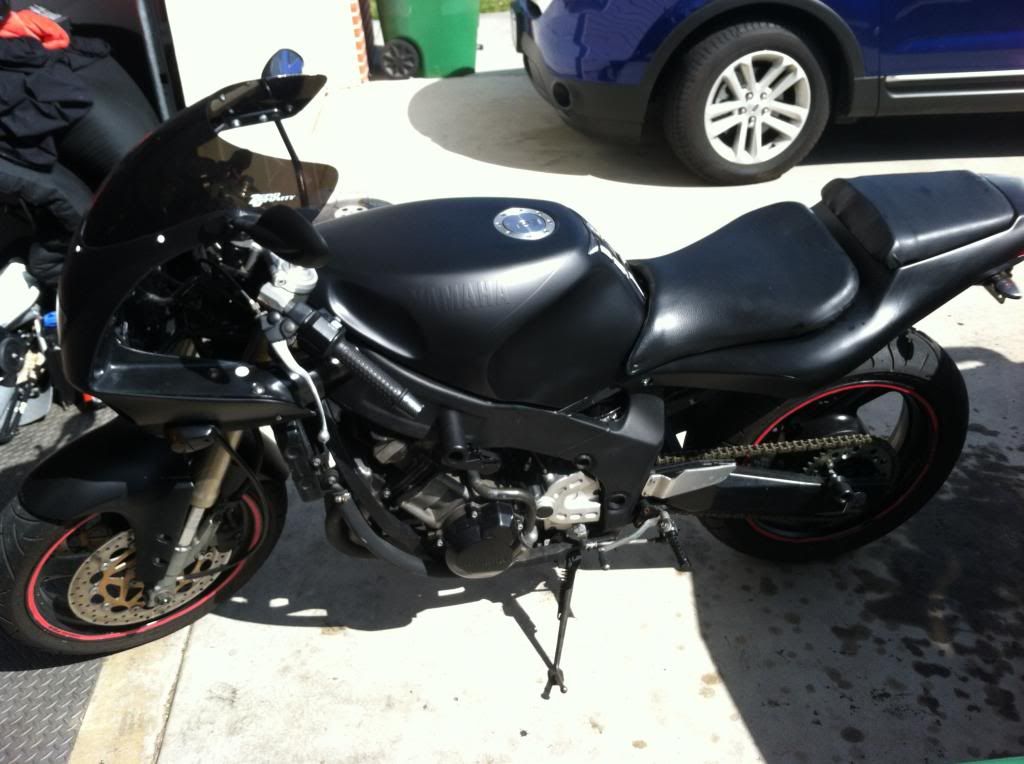
92 FZR 600 25,000 miles and fresh rebuild. Painted
YZF forks
YZF swingarm
YZF rear shock
"Chopped" rear end
Custom electronics box (under seat)
Custom seat and rear frame bracing bracket