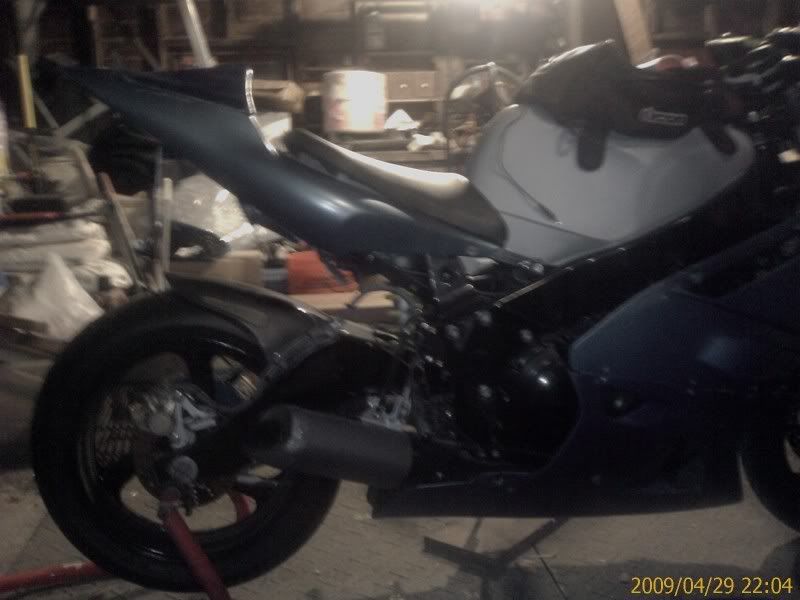
Target's solo seat cowl
Moderators: Site Director, FZR Forum Moderators
Target's solo seat cowl
I was going to keep this a secret, well, tom(tomgun) and brian(nhfzr600) knew about it because they were there when i found the cowl at MOM's(Motorcycles of Manchester) after our run last weekend. But i figured what the hell, why not post it up here so you guys can see how most of the parts of the 4/6WTF were made! So here it is, from the start, almost, to the end. This is my first ever attempt at fiberglassing, so bear with me, and anyone who has any input, please feel free to chime in. I have read a bunch online, and picked Rockthis's brain in the chat.
I didnt go out and buy all of the expensive fiberglassing stuff, and will probably pay for it in the end, but i wanted to do this pretty inexpensively, as it is my first time, and I figured i would screw it up anyhow. so here goes...
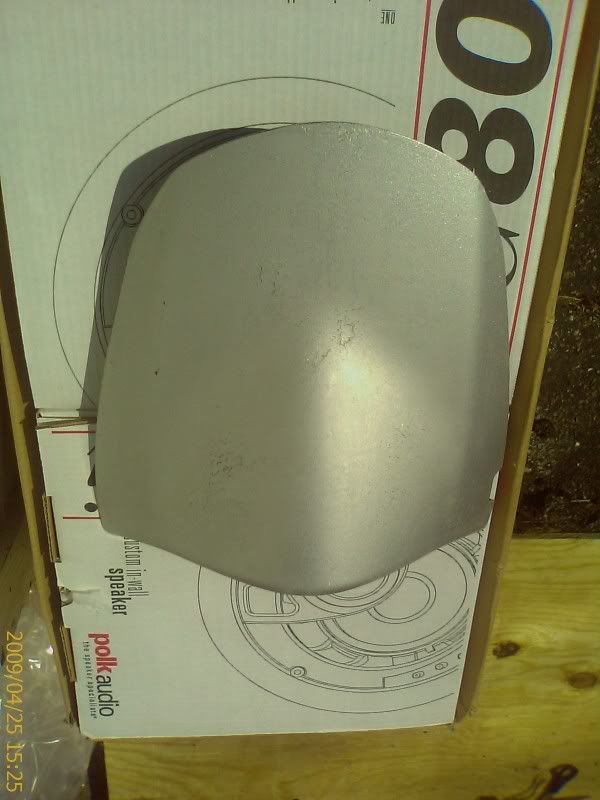
Here is what i started with:
2003 zx6r solo seat cowl
woven fiberglass matt
bondo fiberglass resin
cheap paint brushes
carnuba car wax, paste
I didnt get a picture of the original layup, because i suck, so deal with it!
I waxed the crap out of the original cowl, only after laying the glass on it, i realized i needed a mold release agent , rockthis suggested Vaseline as a cheaper alternative to the actual stuff you can buy from fiberglass places, so i will try that on the part i make from this mold.
here is the trimmed piece, still wrapped around the part:
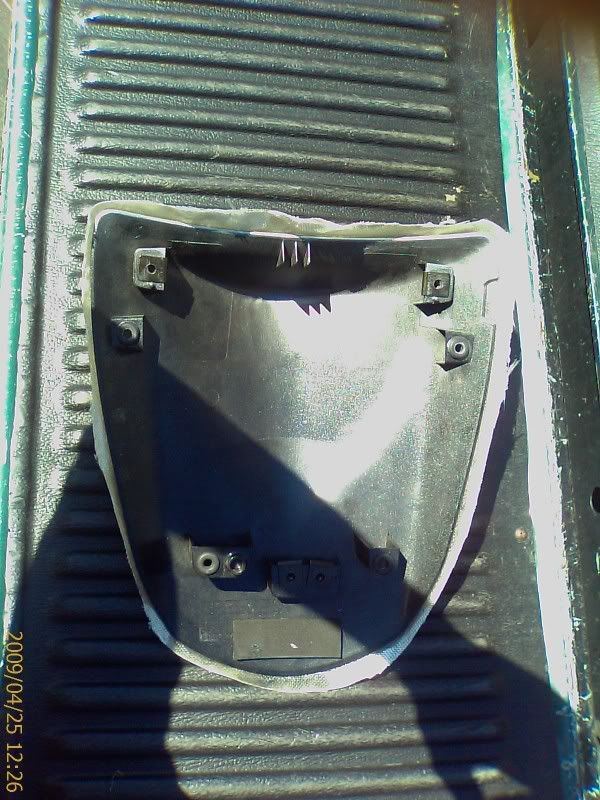
this is alot cleaner than what it looked like before, with the overhang of the fiberglass mat.
I was lucky and apparantly put enough wax on the part (about 10 coats!) to allow the fiberglass to release from it.
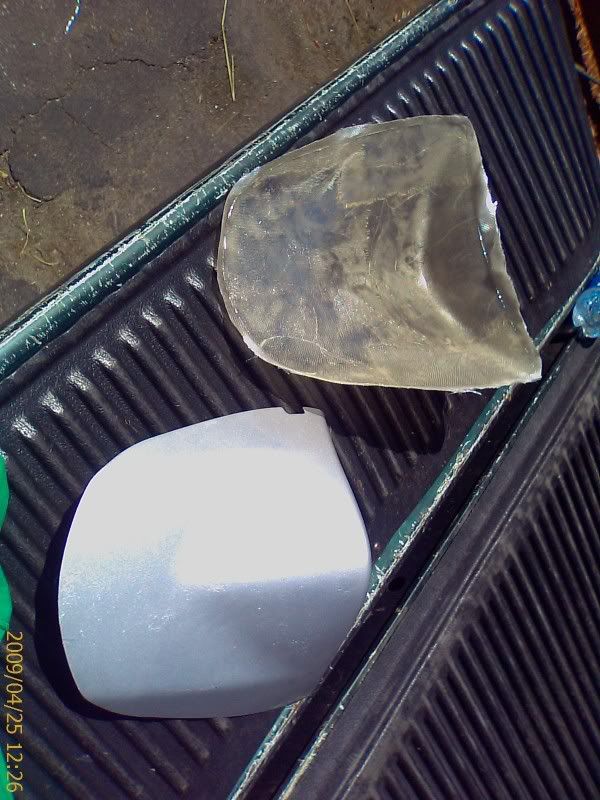
so that is the original part, and the mold that i will be using to make the cowl from. The mold is a little rough, i think due to not mixing the resin and hardener correctly, and/or it taking 4 days to cure becasue it was so wet and cold, and i just let it sit in my garage. it should cure up strong overnight, if you do it right, and it is warm.
soooo, of coarse i had to do a quick test fit with the mold, to see if it was even going to work. i couldnt really do this with the original part because of the mounting bits on it, and i am probably going to resell it on ebay when i am done, so i didnt want to mess it up by cutting it.
This isnt going to look good at all!
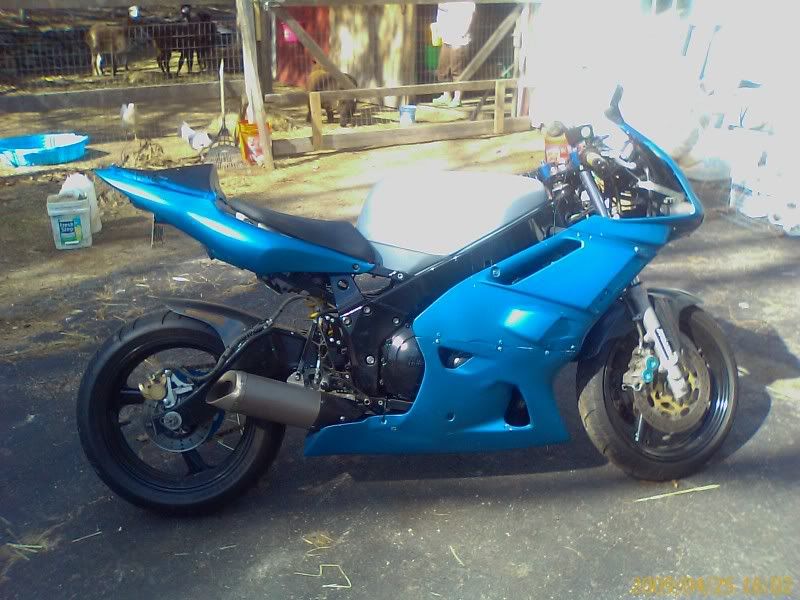
it is a bit too big, so i will have to trim the part i get from the mold, and then lay a bit of glass to make it fit right. I will also be attaching this to a chopped up rear r6 seat, so it will mount with the original mounts for a 99-02 r6 tail.
Today i hope to start laying the actual part, we'll see.
I didnt go out and buy all of the expensive fiberglassing stuff, and will probably pay for it in the end, but i wanted to do this pretty inexpensively, as it is my first time, and I figured i would screw it up anyhow. so here goes...
Here is what i started with:
2003 zx6r solo seat cowl
woven fiberglass matt
bondo fiberglass resin
cheap paint brushes
carnuba car wax, paste
I didnt get a picture of the original layup, because i suck, so deal with it!
I waxed the crap out of the original cowl, only after laying the glass on it, i realized i needed a mold release agent , rockthis suggested Vaseline as a cheaper alternative to the actual stuff you can buy from fiberglass places, so i will try that on the part i make from this mold.
here is the trimmed piece, still wrapped around the part:
this is alot cleaner than what it looked like before, with the overhang of the fiberglass mat.
I was lucky and apparantly put enough wax on the part (about 10 coats!) to allow the fiberglass to release from it.
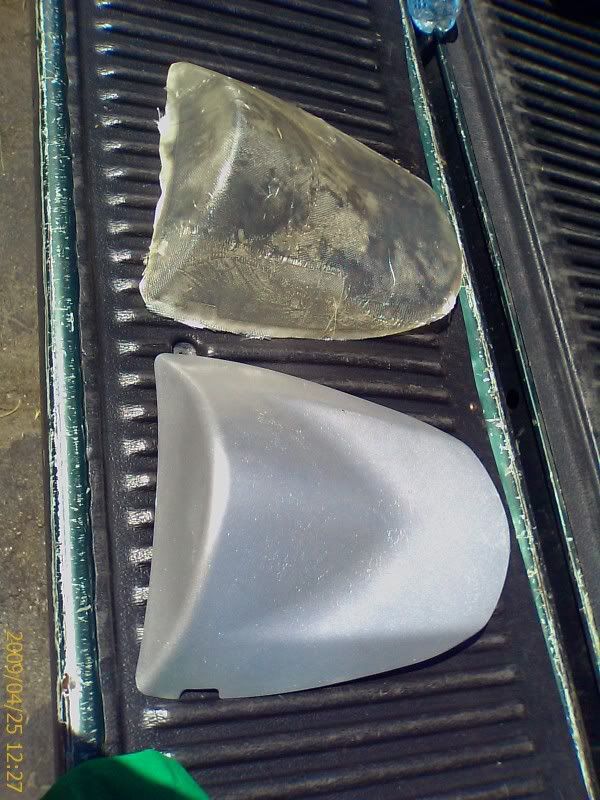
so that is the original part, and the mold that i will be using to make the cowl from. The mold is a little rough, i think due to not mixing the resin and hardener correctly, and/or it taking 4 days to cure becasue it was so wet and cold, and i just let it sit in my garage. it should cure up strong overnight, if you do it right, and it is warm.
soooo, of coarse i had to do a quick test fit with the mold, to see if it was even going to work. i couldnt really do this with the original part because of the mounting bits on it, and i am probably going to resell it on ebay when i am done, so i didnt want to mess it up by cutting it.
This isnt going to look good at all!
it is a bit too big, so i will have to trim the part i get from the mold, and then lay a bit of glass to make it fit right. I will also be attaching this to a chopped up rear r6 seat, so it will mount with the original mounts for a 99-02 r6 tail.
Today i hope to start laying the actual part, we'll see.
I did that.
"(12:38:42) sweekster: i work when i want because i'm sweeks"
Re: Target's solo seat cowl
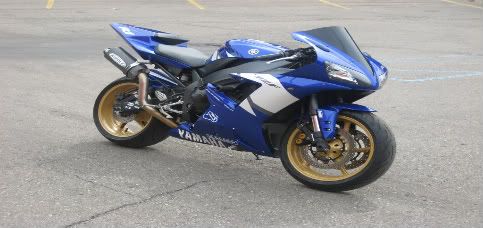
man u neva cease to amaze me with the shit u come up with .. swear if it doesnt look like it fits allready from pics.. i should of had u make me one off for my R1 instead of buying looking for a discontinued Targa solo seat cowl that cost me almost $200 and when it came shipped it had a white nick in it but can't find another one like it for life of me so the little nick will do for now .. Great work man cant wait to see if finished ..
2002 R1 9k miles , Hotbodies undertail , Chopped Hindle Hi Mount , Solo Seat cowl,Frame sliders, little yellow yamaha wheel stickers .hehe
94' 600RR SOLD**
hid xenon
airtek solo tail
time for a 1000
R.I.P DaD 2/17/09 Your in my <3 always
Re: Target's solo seat cowl
Im impressed. Very nice work. I always wanted one for my FZR. My new one came with the cowl so now I need the seat.
Re: Target's solo seat cowl
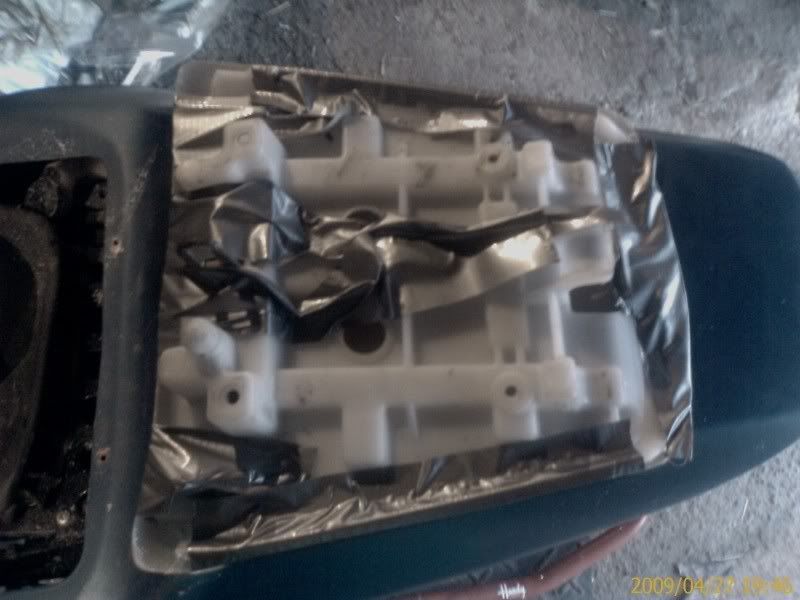
Hard to see, but this is what happens to the paint on a part when you lay resin on it! sorta same effect as paint stripper, it curdled a bit.
i painted the mold black on the outside, so when i layed the fiber into it, i would be able to see it laying better. and well, i couldnt resist taking another peek at what it might look like! i also put tape around the edge of the mold to hopefully make it easier to separate the parts after.
me likey!
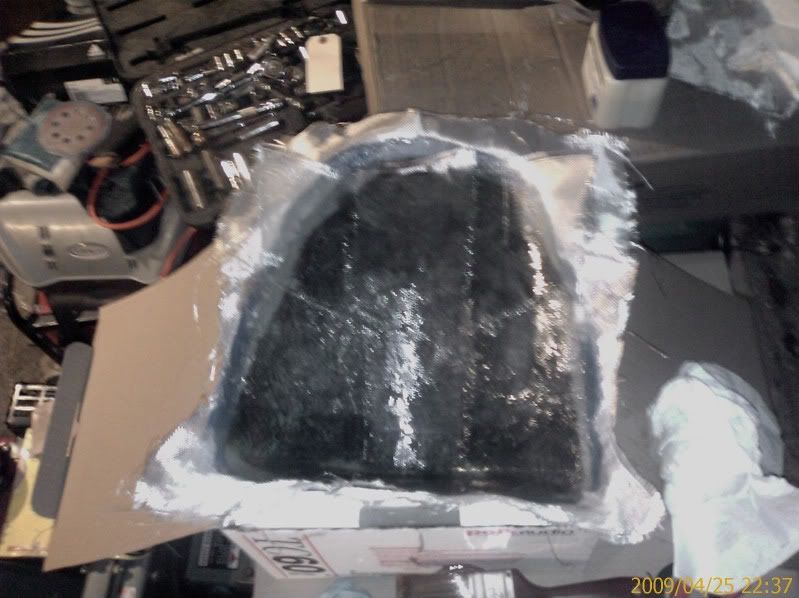
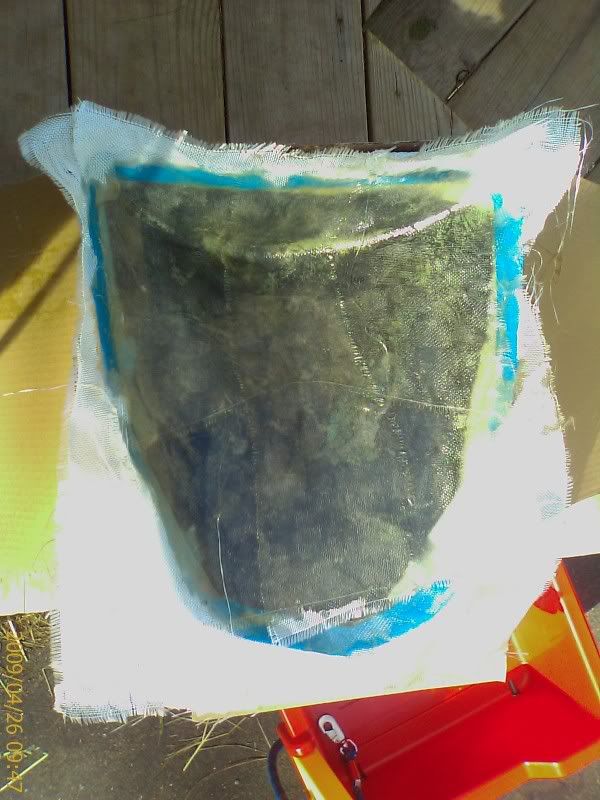
and here it is with the fiber layed into the mold, should set up overnight as it is still 70degrees at 11pm. also i used a bit more hardener this time, maybe a bit much, as my brush was starting to harden as i was finishing up.
I did that.
"(12:38:42) sweekster: i work when i want because i'm sweeks"
Re: Target's solo seat cowl
Quite impressive my friend. I have to say...I'm a bit envious...
Duane...
Bike:
1994 Yamaha FZR 1000 EXUP
Factory Pro Stage 1 Jetting | K&N Filter | Corbin Seat | ProTek Keyless Gas Cap | GSXR Mirrors
My Thread
Cage:
2005 Saab 9-7x 5.3i Arc AWD
THE WIKI IS YOUR FRIEND
THE SEARCH IS YOUR SIGNIFICANT OTHER
USE THEM!!
Bike:
1994 Yamaha FZR 1000 EXUP
Factory Pro Stage 1 Jetting | K&N Filter | Corbin Seat | ProTek Keyless Gas Cap | GSXR Mirrors
My Thread
Cage:
2005 Saab 9-7x 5.3i Arc AWD
THE WIKI IS YOUR FRIEND
THE SEARCH IS YOUR SIGNIFICANT OTHER
USE THEM!!
Re: Target's solo seat cowl
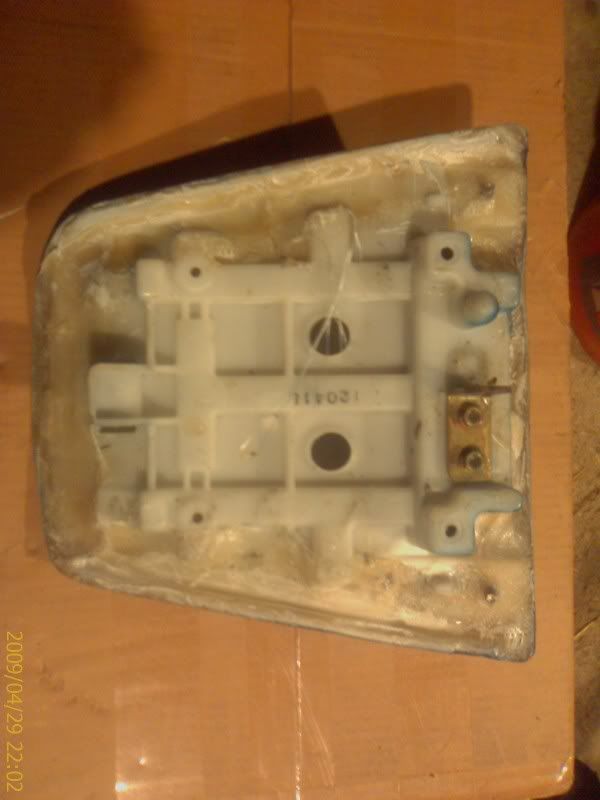
dried and ready to pull apart.
well, after paying close attention to the inside edge, to make sure the fiver layed nice on it, i may have fooled with it too much, as it stuck to the mold there. after about 10 minutes of gentle fighting, and watching the top of the mold cave in, i managed to get the part and mold apart, but only after punching myself in the face when it seperated!
I thought it took a picture of it after i got it ou of the mold, but i must not have, but it looked alot like the original picture of the mold when i made it, only a bit smaller!
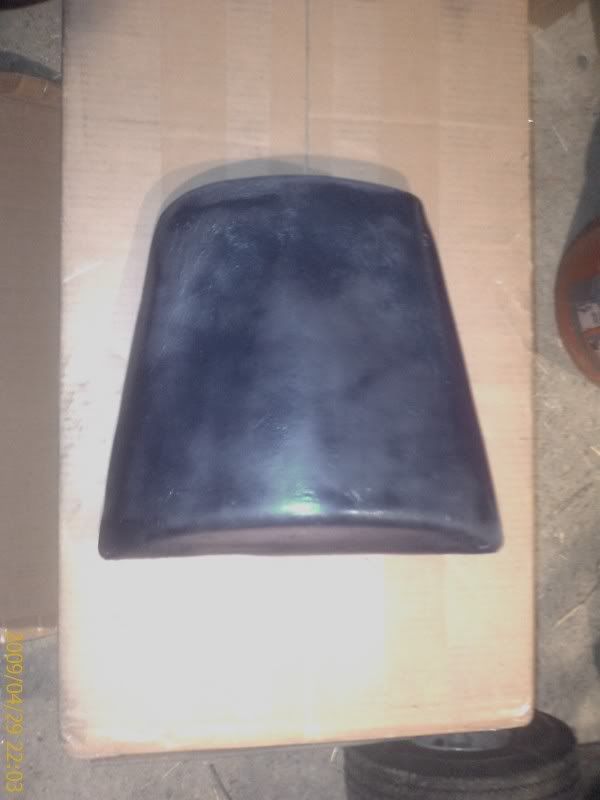
here it is trimmed and fitted a bit, cant do too much more until i find the donor back seat. there is only 2 layers of fiber there right now, once i have it fitted on the seat part, i will stiffen it up with a couple more layers.
notice how much cleaner the garage is in the background also!
I did that.
"(12:38:42) sweekster: i work when i want because i'm sweeks"
Re: Target's solo seat cowl
Very cool! Looks like you did some spring cleaning in the garage
Re: Target's solo seat cowl
Nice work.i tried fibreglass work and i just couldn't get it right.I pick up almost everything I try and have been tradesman for over 20years but i just pay for glass work.Hats off to the master of first time fibreglass success.
Re: Target's solo seat cowl
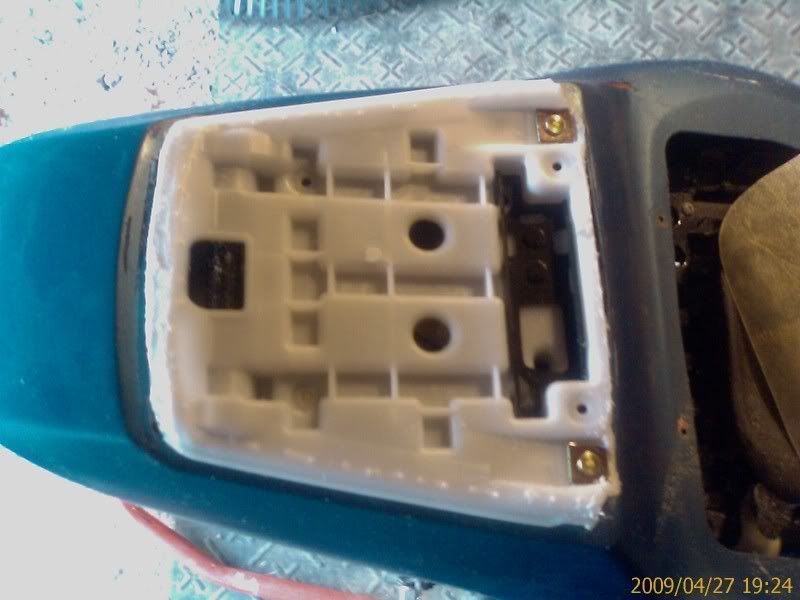
well, no one has ever called me patient, sooooo i trimmed the base of my back seat to fit the new cowl...
fits pretty good, so i mixed up some 5 minute epoxy, let it set for a minute, and attache the cowl to it, i will finish it off with fiberglass after. Duct tape is holding it together until the epoxy dries,
once the epoxy dries, i will lay fiber around the edge to hold it onto the plastic better. i will probably fill the inside with expandable foam for a little more strength.
I did that.
"(12:38:42) sweekster: i work when i want because i'm sweeks"
- megaloxana
- 2000+ Posts
- Posts: 2282
- Joined: Thu May 15, 2008 5:05 pm
- Location: Hanover, PA 17331
- Contact:
Re: Target's solo seat cowl
Pretty good for the first time. I found out what resin does to paint a while back on my some headlight covers for my car. Oh well, live and learn.
'92 FZR 600
Airtech R1 kit \*/ 520 conversion \*/ 14F-47R gearing
K&N pod filters \*/ Stage 3 jet kit \*/ Factory Pro shift kit \*/ Full V&H SS exhaust
Custom '02 R6 undertail \*/ YZF gas tank \*/ Raised via dogbones \*/ custom flush turnsignals
Full R6 brake set-up \*/ SS lines \*/ Progressive fork springs \*/ ZX2 coilpack
ADD YOURSELF TO THE OFFICIAL FZRONLINE GOOGLE EARTH MAP
Re: Target's solo seat cowl
My fibreglass comes from the cheque book.
Re: Target's solo seat cowl
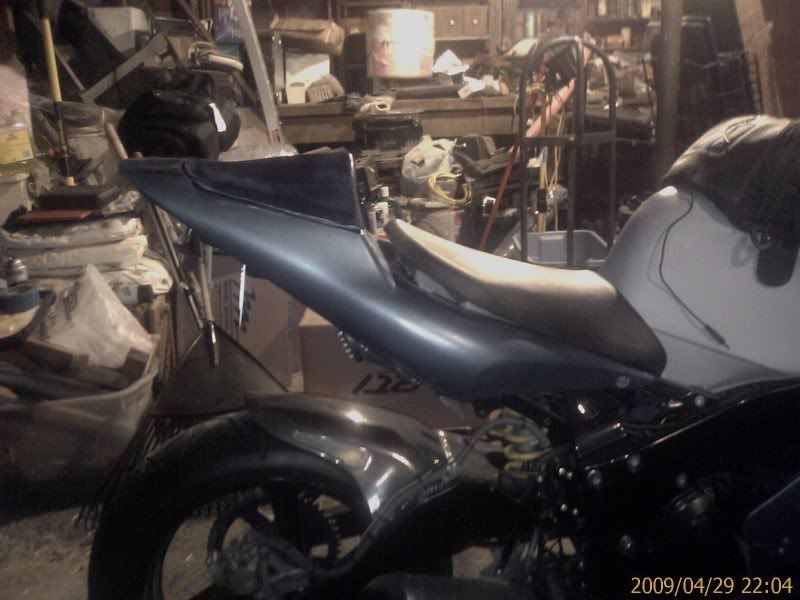
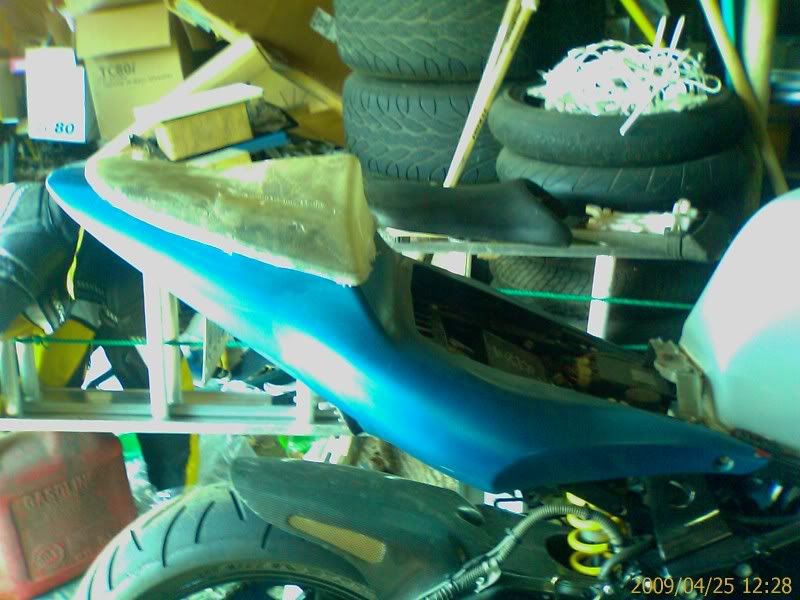
i glassed thecowl to the seat base like so....
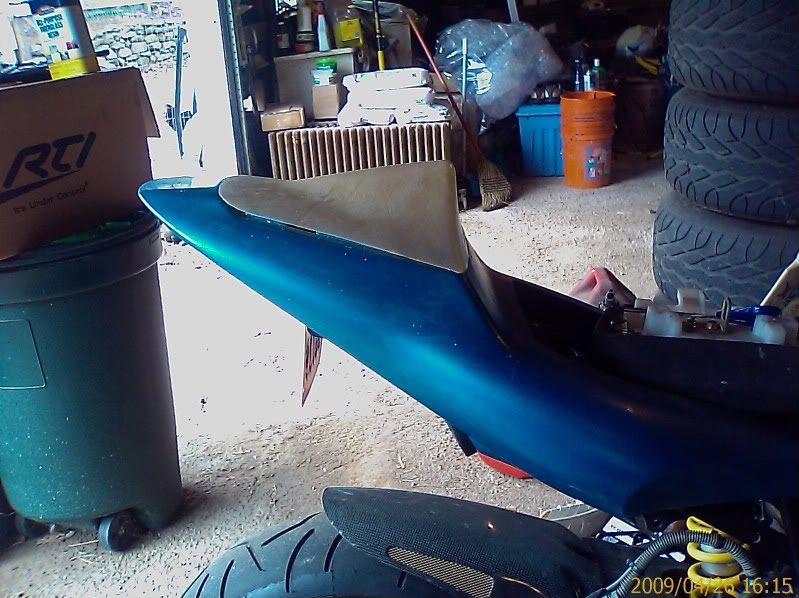
sanded a bit to make it fit better. I realized while doing this that the tail was not sitting straight on the subframe, so i fixed it temporarily, and will make a bracket to hold it in place better this weekend. of coarse since i am riding to work tomorrow, i hit it with some paint to sorta match the bike, cause well, i'm just that vain!
i still have to smooth out the fiberglass and clean up the edges to make it sit perfectly, but it is very close right now.
i'll do the final work and paint this weekend hopefully, then onto my dash!
by the way, i apologize for the crappy pictures throughout this thread, my daughter has hidden my cameras battery charger, an i havent been able to find it for the last week. so i took all these pictures with my phone. daytime is ok, but when there is low light, it sucks.
I did that.
"(12:38:42) sweekster: i work when i want because i'm sweeks"
Re: Target's solo seat cowl
Looking great Jim. Your going to do all my glass work for now on.
Looking for a FZR 400 3TJ
1992 FZR 600 SOLD
2001 Ducati ST4 916
Chipped, with Fast By Ferracci cans
The Yellow Duc Project
The lord tells me he can get me outta this mess but he tells me he's pretty sure your f***ed.
1992 FZR 600 SOLD
2001 Ducati ST4 916
Chipped, with Fast By Ferracci cans
The Yellow Duc Project
The lord tells me he can get me outta this mess but he tells me he's pretty sure your f***ed.
- ragedigital
- 4000+ Posts
- Posts: 4153
- Joined: Wed May 07, 2008 9:30 am
- Location: Northwest St. Louis
Re: Target's solo seat cowl
Skim some body filler over the outside and make her smooth as a baby's butt.
Great job!
darrin
Great job!
darrin
Thanks for joining and participating in the most "active" FZR Community on the internet!