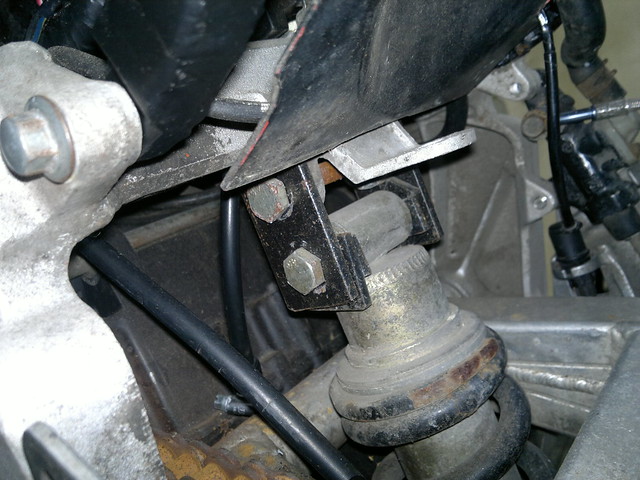
1988 project
Moderators: Site Director, FZR Forum Moderators
Re: 1988 project
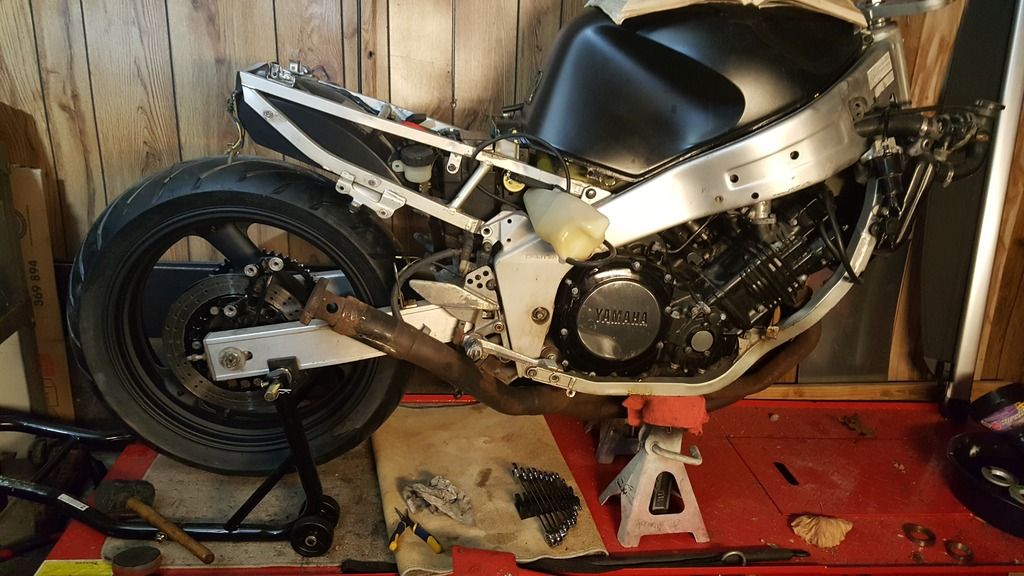
Just an update on this project.
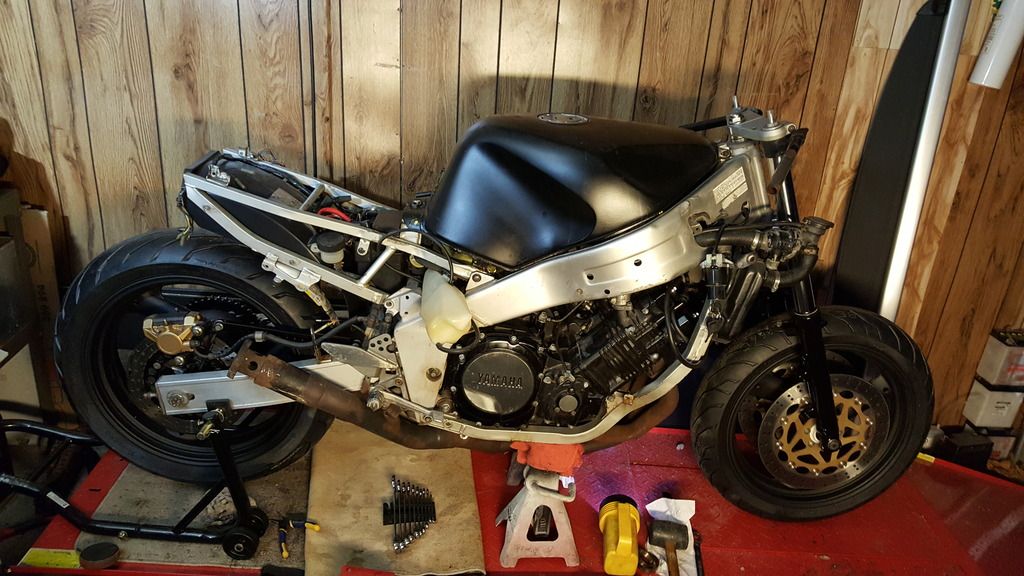
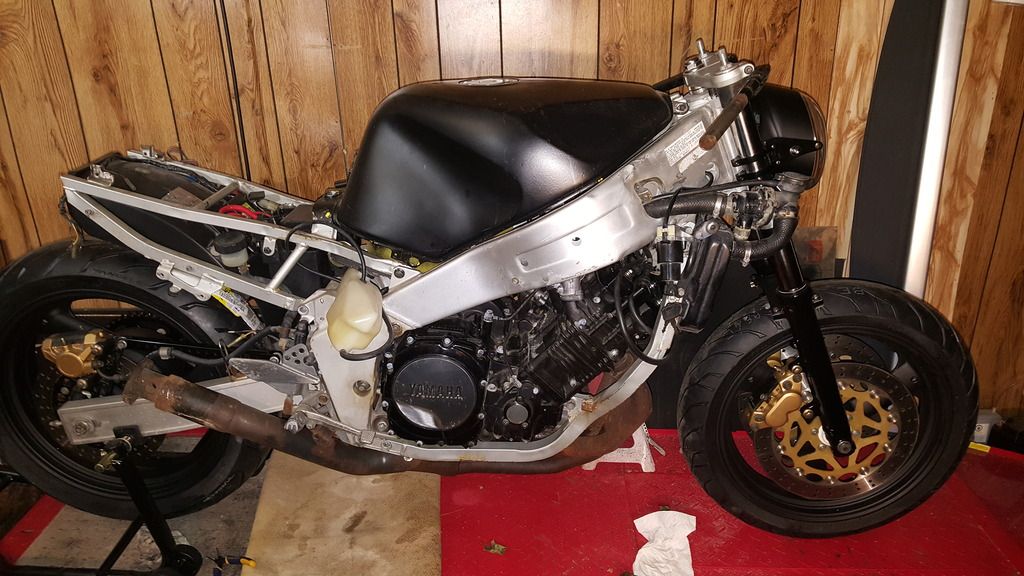
New tires are on and wheels are painted flat black.
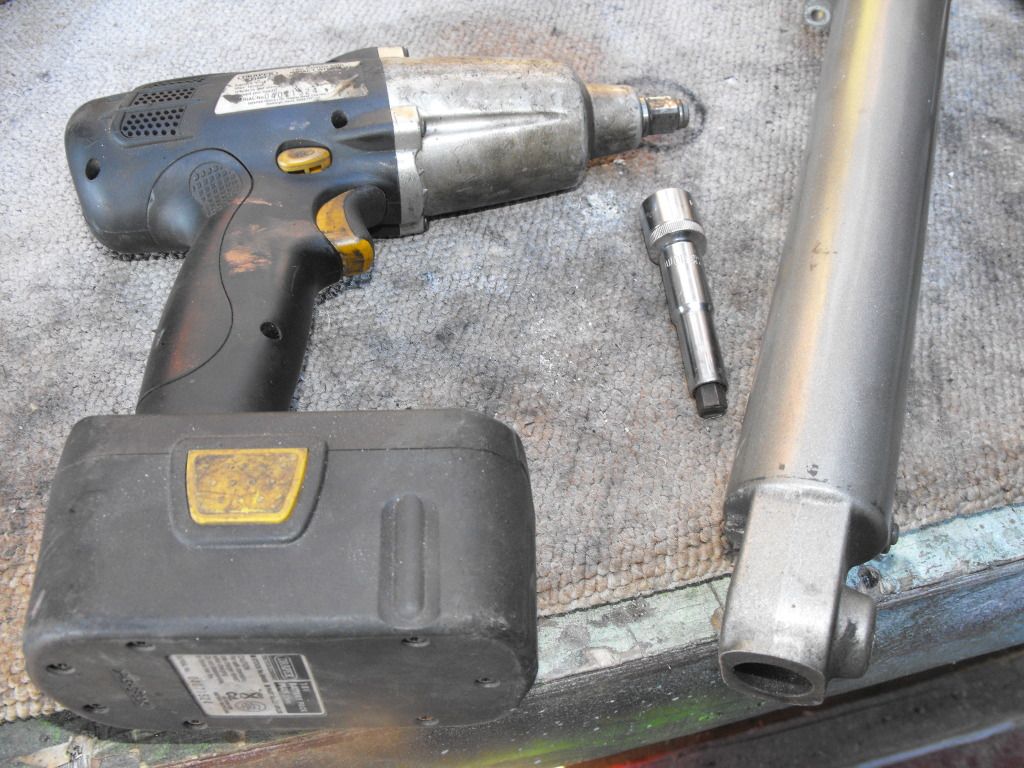
I also changed the oil seals on both forks. The manual says a tool is needed to hold the damper rod to keep it from spinning. I spent some time trying to figure out the size etc but ended up not needing one: put the fork leg into a vice and loosen the bottom bolt. Once that's done, put the fork with spring inserted on the ground with open side down. While applying pressure, use a power tool to unscrew the bolt all the way. The spring held the rod in place. Worked like a charm. Same procedure to tighten everything.
Unfortunately I ran out of fork oil and had to order. In the meantime, I put the rear wheel back on.
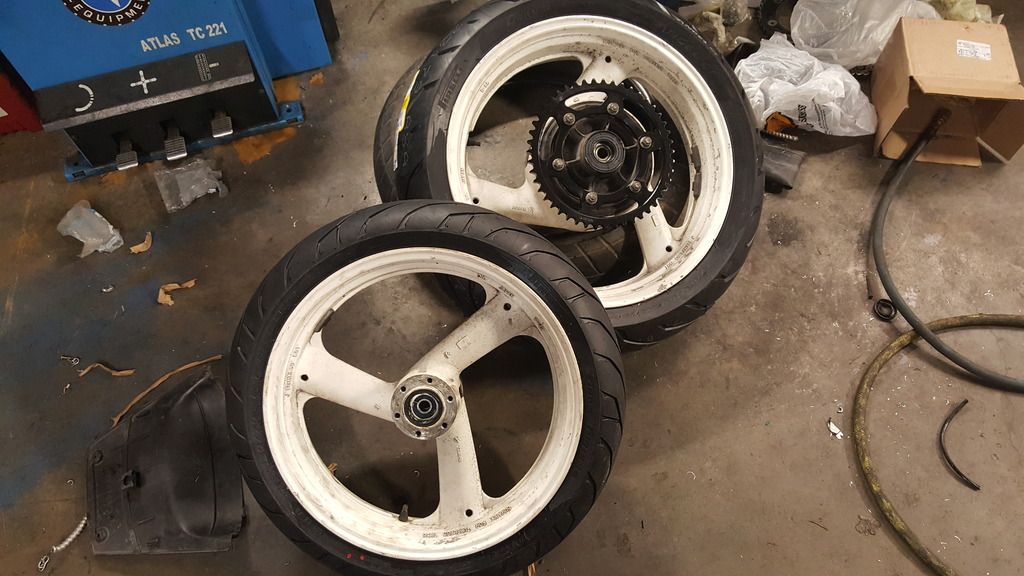
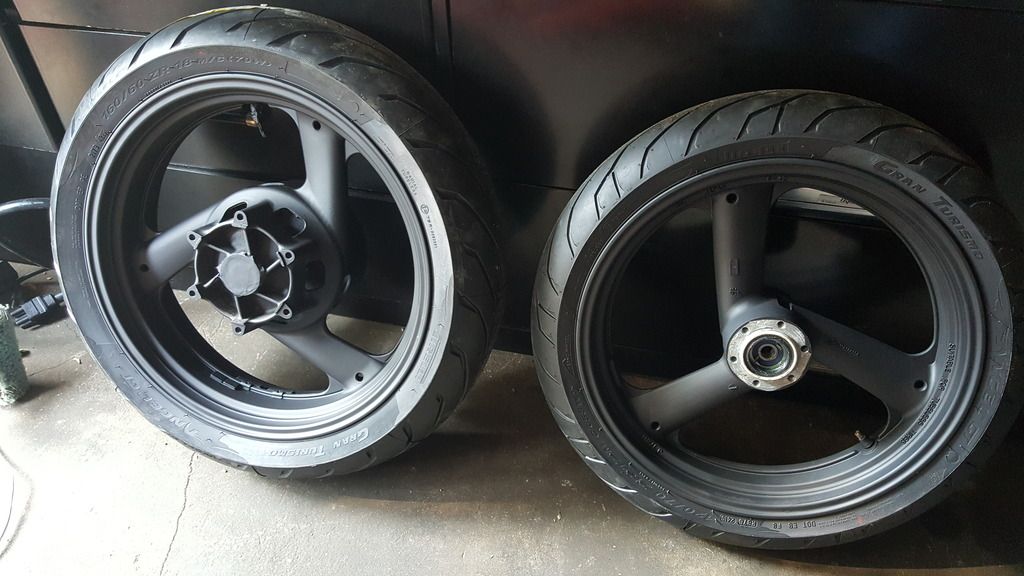
- willandrip
- Level 7.0
- Posts: 704
- Joined: Fri Sep 07, 2012 11:51 am
- Location: TYNE AND WEAR -UNITED KINGDOM
Re: 1988 project
Wheels look spot on in "charcoal" ?
My spare TDM ones are that colour...they make a good matching with the frame.
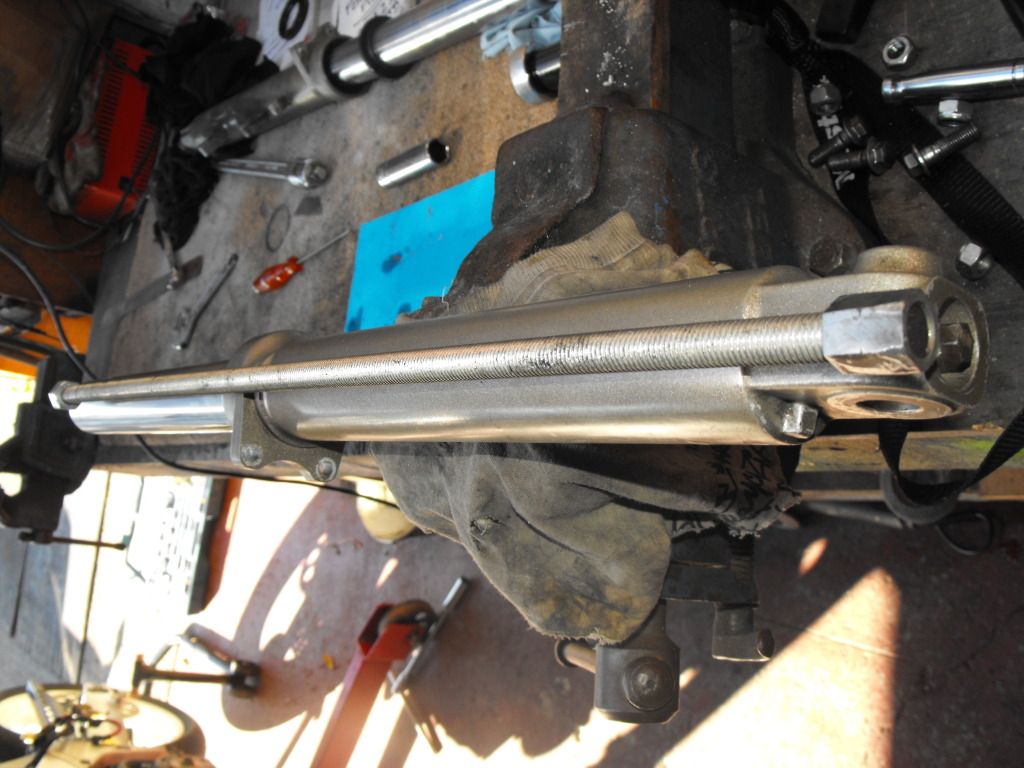
I use this for all my Yamaha forks;
Studding and 2x nuts locked together.
Often this tool alone suffices;
My spare TDM ones are that colour...they make a good matching with the frame.
I use this for all my Yamaha forks;
Studding and 2x nuts locked together.
Often this tool alone suffices;
Sent from my keyboard using the English language not some teen text shite from a fooking phone.
Re: 1988 project
Yes, that's what I ended up using (power tool)
True, wheels look good. At some point frame will be gloss black, but did not feel like spending a ton of money on powdercoat
Re: 1988 project
So what's the diameter for the inner nut? Is it 27mm?
Re: 1988 project
What paint did you use on your wheels? I used fine truck bed liner on mine, looks like a satin powder coat.
Re: 1988 project
I use rustoleum high performance enamel all the time. It is pretty tough and looks great. Dries fast to touch and fully cured in 24 hours.
Re: 1988 project
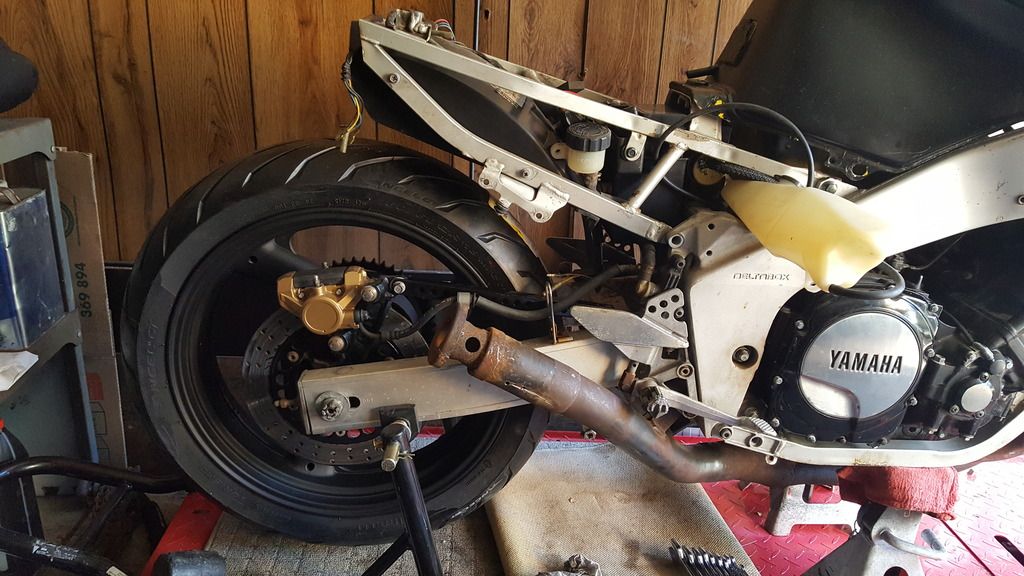
Had a few mins before work and threw the brake back on
Need to figure out exhaust soon
Not sure if I do it now or later, but I am planning on chopping the subframe a bit. The bottom stray will move up angle wise.
Need to figure out exhaust soon
Not sure if I do it now or later, but I am planning on chopping the subframe a bit. The bottom stray will move up angle wise.
- willandrip
- Level 7.0
- Posts: 704
- Joined: Fri Sep 07, 2012 11:51 am
- Location: TYNE AND WEAR -UNITED KINGDOM
Re: 1988 project
Naw...Don't think it was anywhere near as big...saftie wrote:So what's the diameter for the inner nut? Is it 27mm?
Studding was about 12mm so nuts would have been 19 or 22 OD and I shaved them down a bit.
From what I recall I just tapered the end with a grinder and kept test fitting and grinding until snug.( It was a long time ago now )
Sent from my keyboard using the English language not some teen text shite from a fooking phone.
Re: 1988 project
Hmm, I think it was bigger. When I had the rod out, I tested a 24mm nut and it was still too small. But doesn't matter much now, flipping the fork upside down and compressing spring was good enough to hold it in place to get the bottom bolt out.
Re: 1988 project
Fork and front wheel back on and torqued down
Re: 1988 project
Front brakes back on and headlight test fitted.
The trail tec will sit right above it
Have to find a good spot for the ignition now. Would be easiest if I could reuse the existing ignition switch, but it's pretty big.
I also have to think about that clunky radiator stuff. Later though.
The trail tec will sit right above it
Have to find a good spot for the ignition now. Would be easiest if I could reuse the existing ignition switch, but it's pretty big.
I also have to think about that clunky radiator stuff. Later though.
Re: 1988 project
What is the master cylinder bore for clutch and front brake?
Cleaned both this morning but they don't pump any liquid.
Now it's either rebuild or replacement.
Cleaned both this morning but they don't pump any liquid.
Now it's either rebuild or replacement.
Re: 1988 project
Just measured and appears to be 5/8 inch or 16mm
Re: 1988 project
The OEM master cylinders have a 5/8 inch bore,thats right.
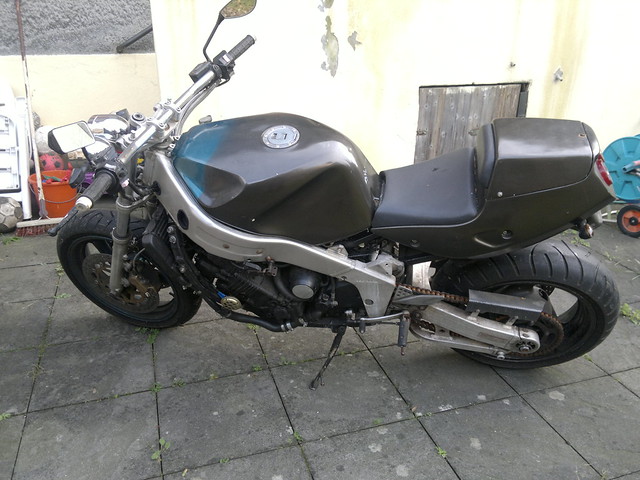
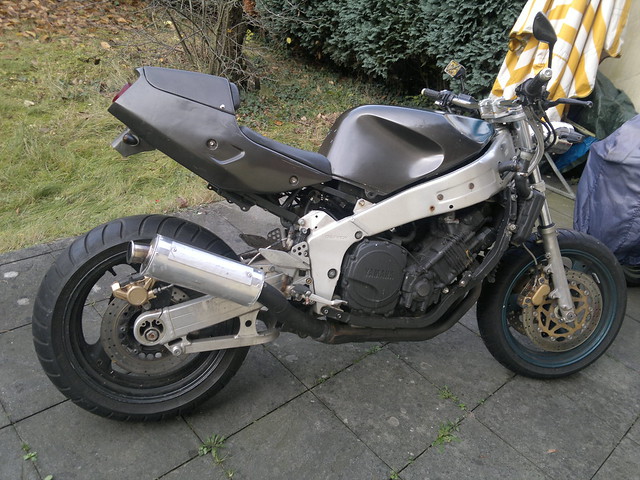
During the next months the restauraion/refreshment of my just bought 1988 's 2LA will also start
2016-11-04-1154 by tomcatmj, auf Flickr
2016-11-04-1155 by tomcatmj, auf Flickr
Mostly for stage 1 follwoing things would have to be done: Getting a fresh Battery, refurbishing the headlights and flashers, checking+cleaning the rusty chain (obviously i will better exchange the complete chainkit), completing for getting it back on the road (missing tacho and speedo and signallights) and removing a unsafe rearriserconstruction. Later on, for stage 2, perhaps trying to restyle the complete bike back to a more similar to original style
But THIS construction is definitely to unsafe for roadriding (obscure selfmade riser made by the previous owner) and will have to get removed:
2016-11-06-1165 by tomcatmj, auf Flickr
"The social dynamics of the net are a direct consequence of the fact that nobody has yet developed a Remote Strangulation Protocol." -- Larry Wall
Want Pics? Then have a look at my galleries...different topics: Bike and Car restauration, exhibitions, Trackdays (no, not me on the Track until now), carneval in cologne, other things..
Re: 1988 project
Oh dear. Lots of work. Let me know if you need anything that I took off the original bike.
I'd be interested in a close up shot of that radiator thingie. But then again, it might just be a weird hack and not working/safe.
Thanks for confirming the size. I actually took the brake side apart and it looks good, just a lot of dirt which could be the reason. I'm hoping to get away with a good cleaning. Should know tomorrow if it worked.