Thin plastic, around 1/8th inch (i used a piece of an old rain gutter)
Something to cut with (i used tin snips and a razor knife)
Cheap radio shack soldering iron
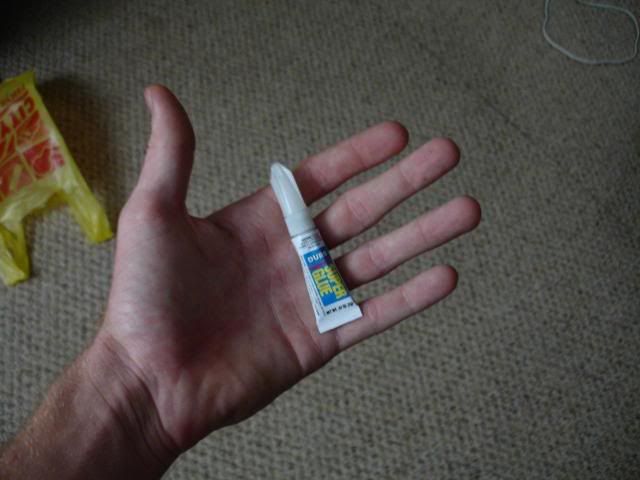
Super glue for holding the pieces in place
50 grit (or similar) sandpaper
Pliers
and most importantly, you need PATIENCE and a steady hand
also, it's not a messy job, i did it inside my living room as you can tell.
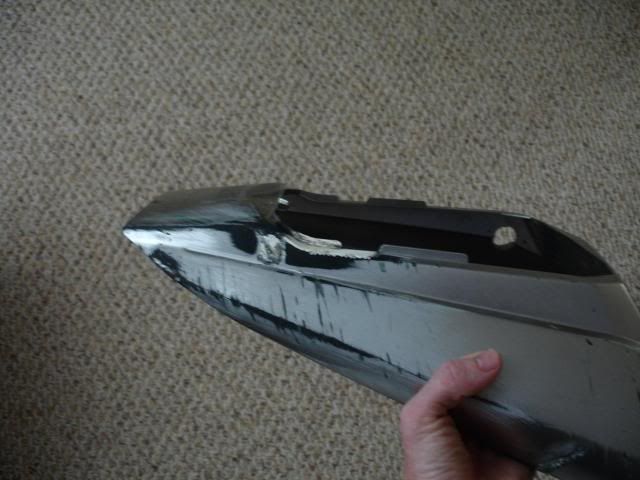
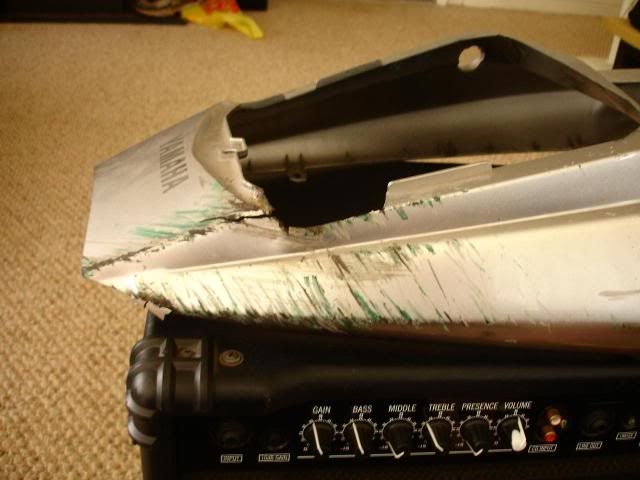
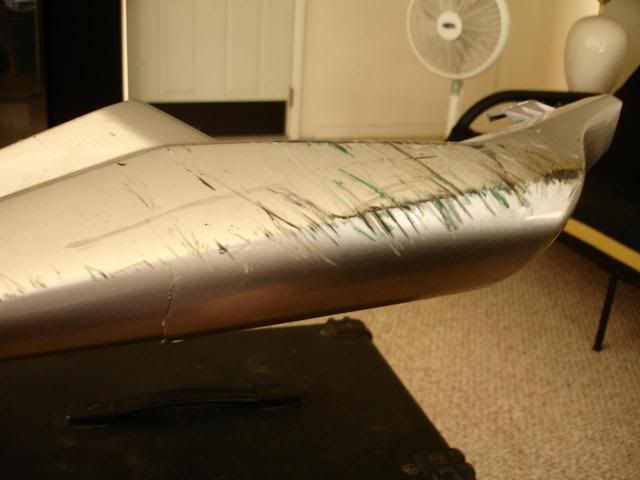
First of all, I've tried plastic welding before with a bernzomatic propane torch, and it didn't work as well as I had planned. So, I left my soldering iron sitting on a metal pair of pliers on my toolbox, but then bumped the toolbox without knowing it and the iron fell onto the plastic. I came back to find my soldering iron had melted a hole through the tool box. Then I remembered how the_finch was telling me about how easy it was and how it could be done with a soldering iron, so I thought i'd show an example of my FREE 05 r6 tail i got that was crashed.
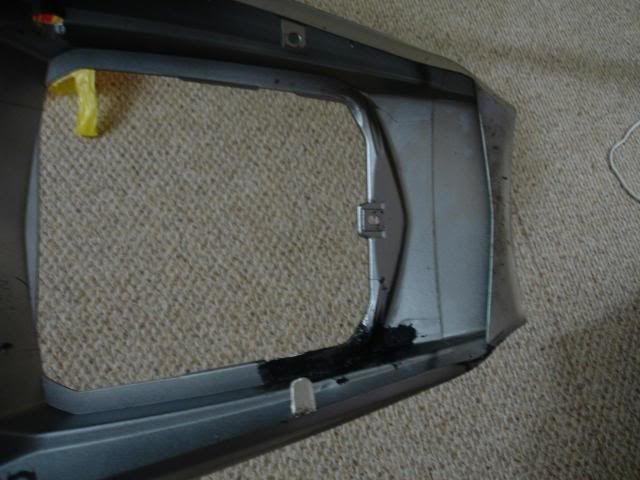
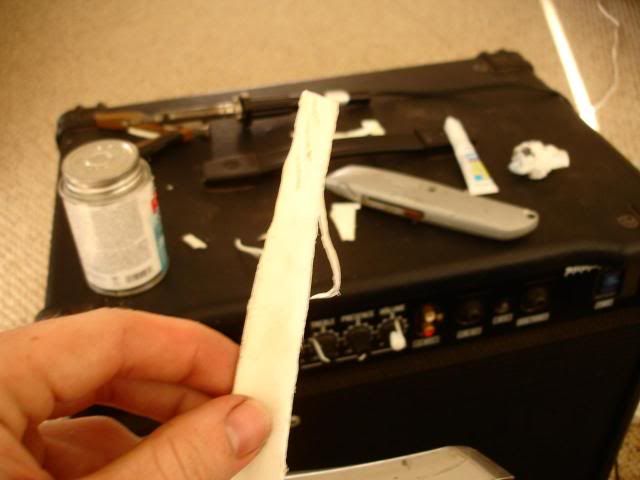
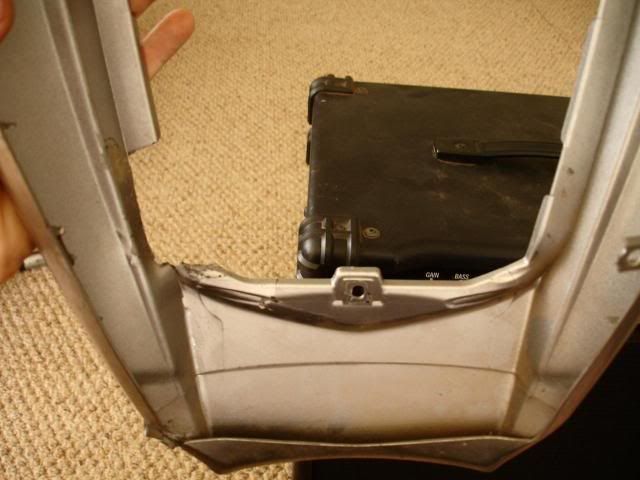
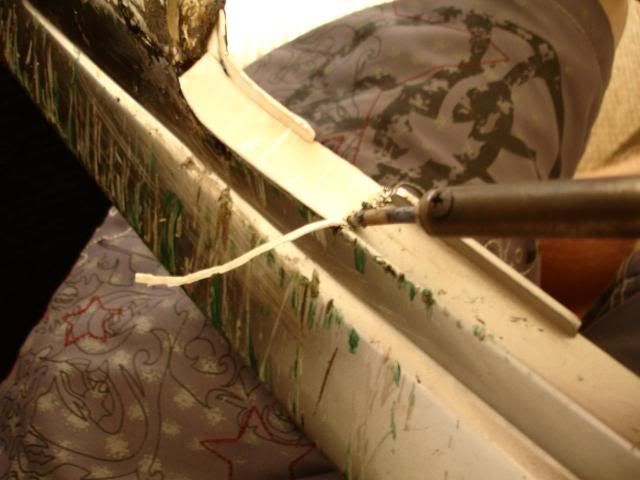
Forgive me for being lazy, plus I don't have 3 arms, so I just put a bunch of pictures below and I'll try my best to describe how it's done, so you can look at the pictures and understand after you read through, it's very very simple though. Technique, very simple(i stress this), if a chunk is completely missing, cut a similar size plastic piece to shape, superglue it in place(i use duro brand super glue, it's in a pic below) now cut strips as tiny as you can cut them, 1/8th X 1/8th X 2 inches or longer works fine, these will be plastic welding rods (or you can buy them from harbor freight, but eh, i make my own) and then take the tip of the soldering iron and push down where you want the plastic to melt together, just press straight down like you're making a little hole, now while the hole is still warm, stick the plastic strip in the hole and melt on top of it, then do this down the whole seam of the plastic piece and the fairing. Smooth it out as flat as you can get it with the soldering iron to keep from having tiny holes or pieces that stick up. Sand it with 50 grit sandpaper. If you just have a crack, this is easier, and you can follow the same instructions that are mentioned above, you just don't have to cut out another piece of plastic. Melt the crack together. Just make sure you do the same thing on both sides of the plastic. If this is done right, it is just as strong as it was to begin with, even the little tab for the undertail that is in the bottom of the very last pic is strong enough to grab and pull and the fairing bends instead. Anyway, now on to the pics!!!
Main materials:
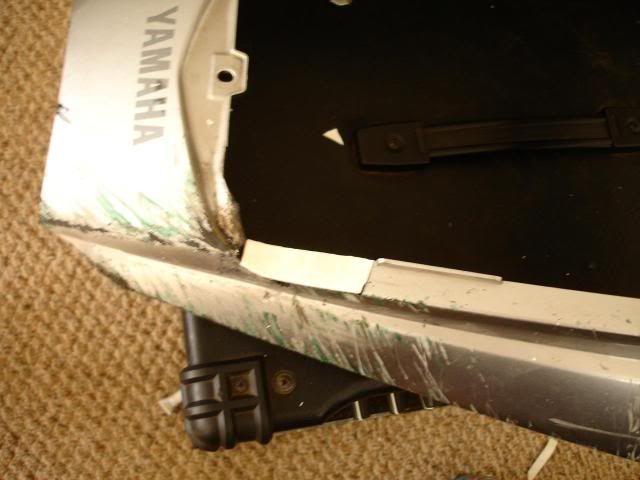
Before:
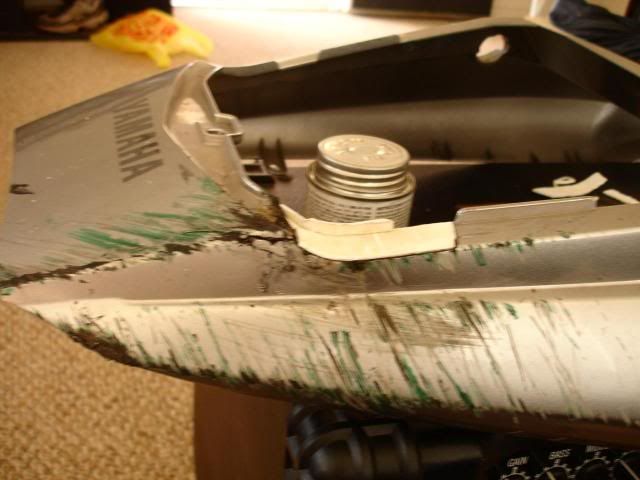
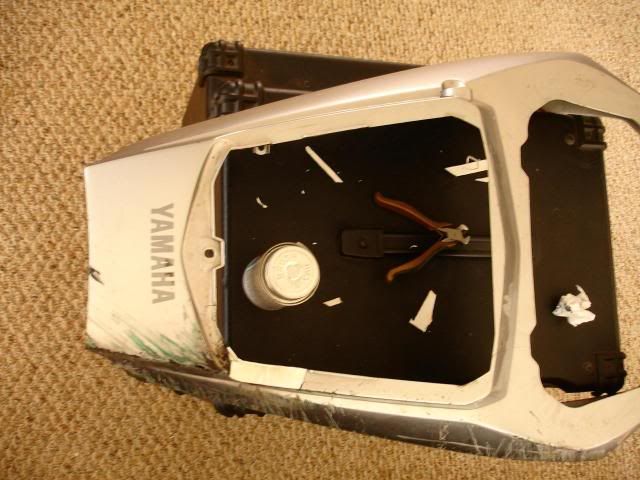
During:
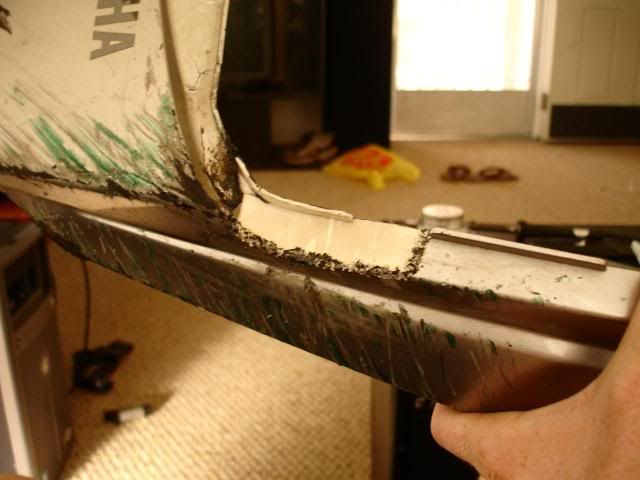
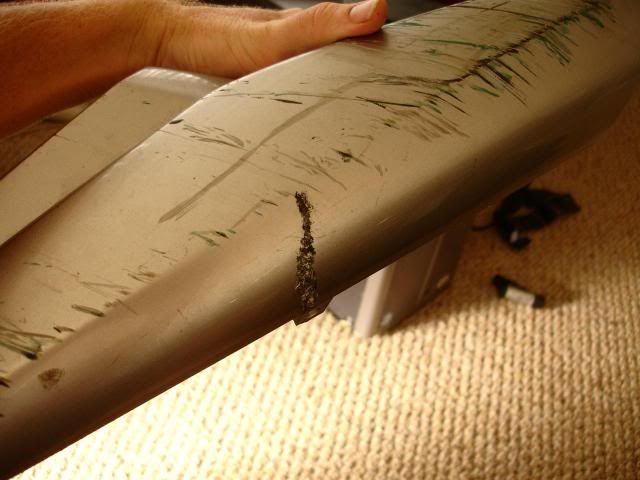
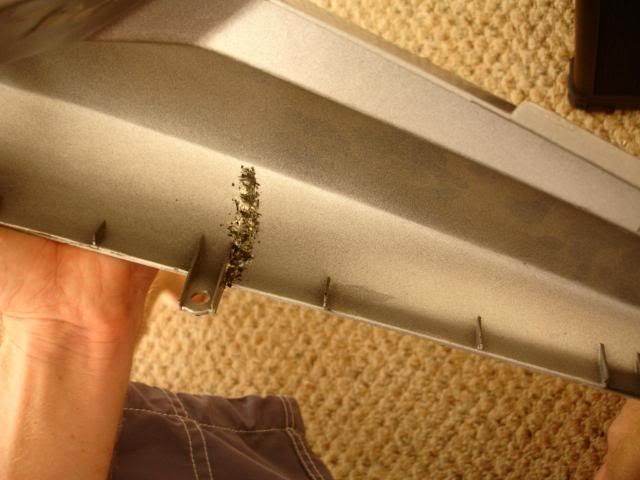
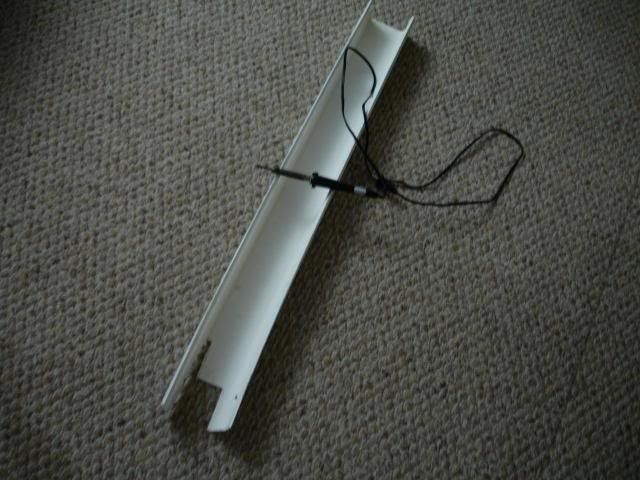
After: