Carbs, pics
Posted: Fri Jan 09, 2009 10:45 am
Hey forum, been a while for a post.
I took the carbs off yet again. I bought some of that carb dip cleaner, "chem-dip". put the main and idle jets, carb floats jet holder, and main jet nossle in the dip. They all came out clean, nice. I now want to take apart each of the main bodies of the carbs from each other and dip them, but I'm neverous about pulling them apart, the linkages. I know that I will have to sync them when back together. I have seen a few carb sync videos on youtube, a manometer is used, "carbtune" an Enlish made unit is very popular. The vaccum tubes are hooked up and the bike is run and then a screw is turned to sync 3 and 4 and 1 and 2. My question is where is our vaccum inlet and which screws do I turn. I have an Idea but I want to make sure I'm right.
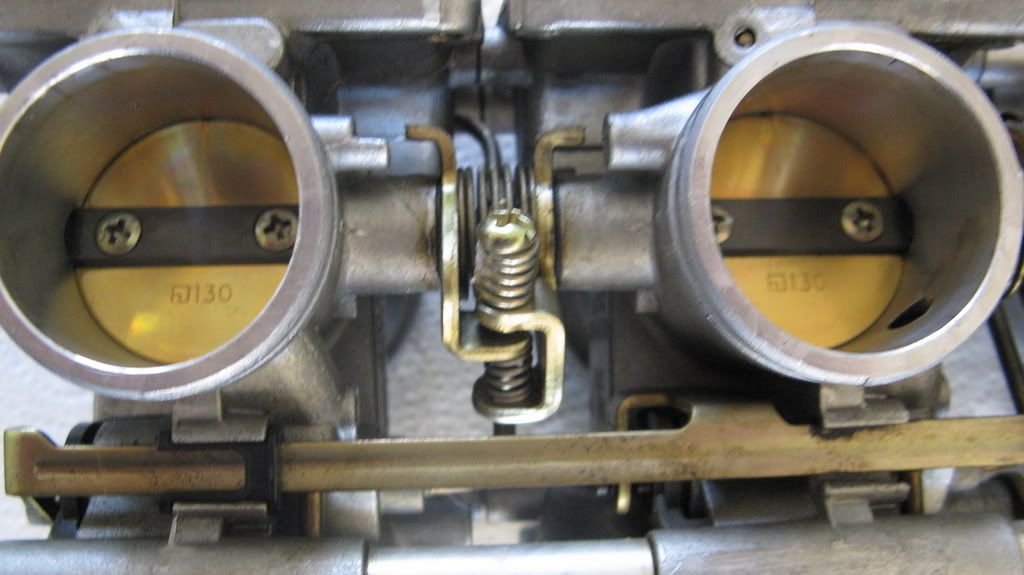
I was thinking about making my own sync tool. Link http://www.obairlann.net/reaper/motorcy ... meter.html
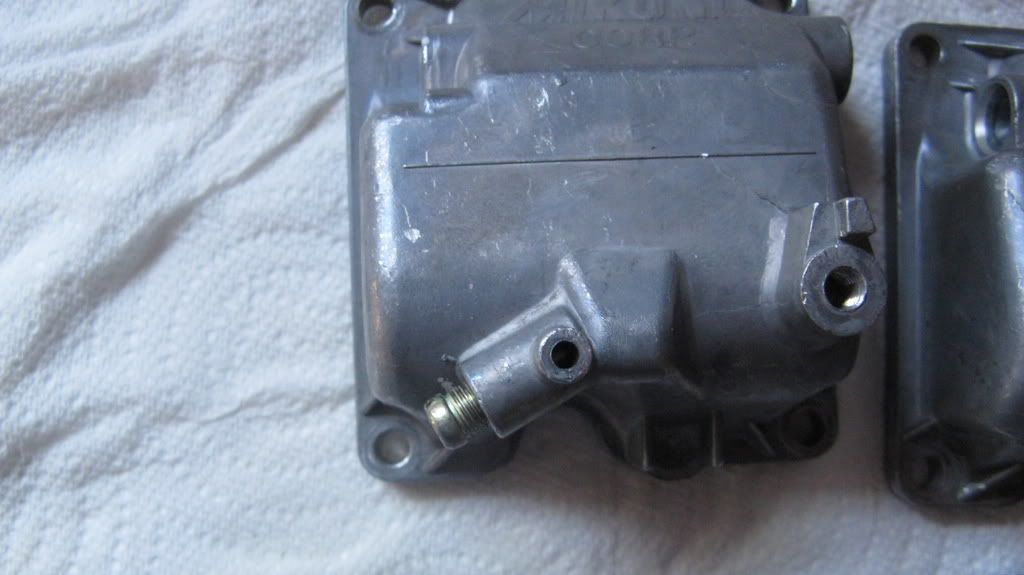
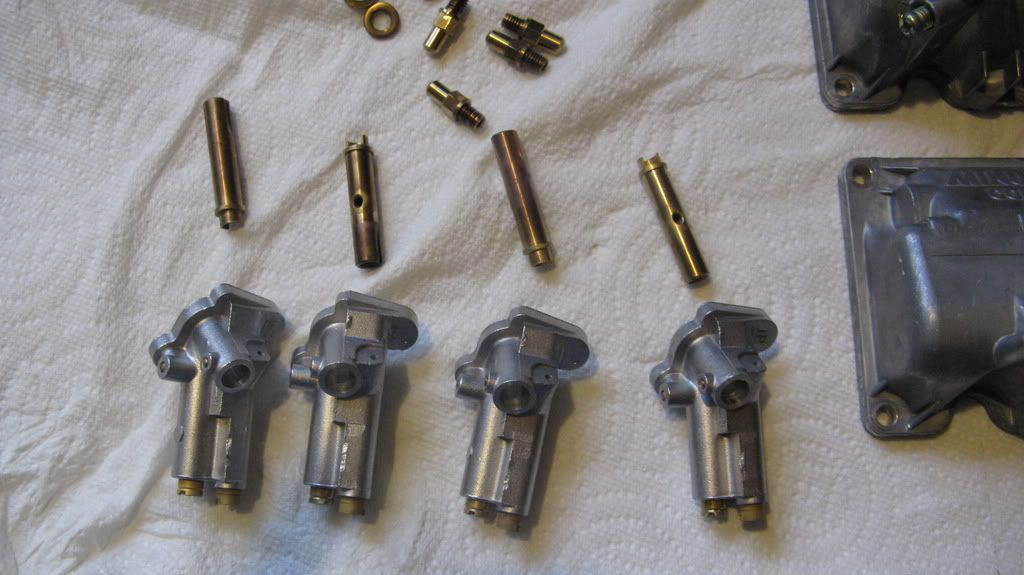
Nice and clean
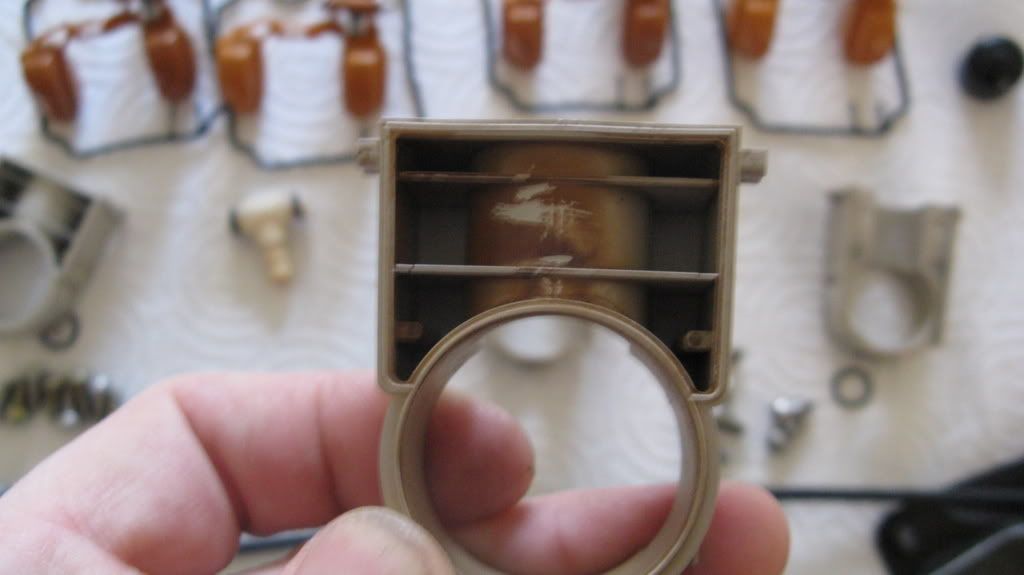
What should I do to clean this plastic part.
I took the carbs off yet again. I bought some of that carb dip cleaner, "chem-dip". put the main and idle jets, carb floats jet holder, and main jet nossle in the dip. They all came out clean, nice. I now want to take apart each of the main bodies of the carbs from each other and dip them, but I'm neverous about pulling them apart, the linkages. I know that I will have to sync them when back together. I have seen a few carb sync videos on youtube, a manometer is used, "carbtune" an Enlish made unit is very popular. The vaccum tubes are hooked up and the bike is run and then a screw is turned to sync 3 and 4 and 1 and 2. My question is where is our vaccum inlet and which screws do I turn. I have an Idea but I want to make sure I'm right.
I was thinking about making my own sync tool. Link http://www.obairlann.net/reaper/motorcy ... meter.html
Nice and clean
What should I do to clean this plastic part.