Page 1 of 2
Carb stuff with pics WIKI MOD HELP PLZ
Posted: Thu Oct 09, 2008 2:10 pm
by ALMOST
Well I was still having idle issues after I replaced the fuel filter. So I decided to remove them and clean them. Ran into so problems, f***in screws.
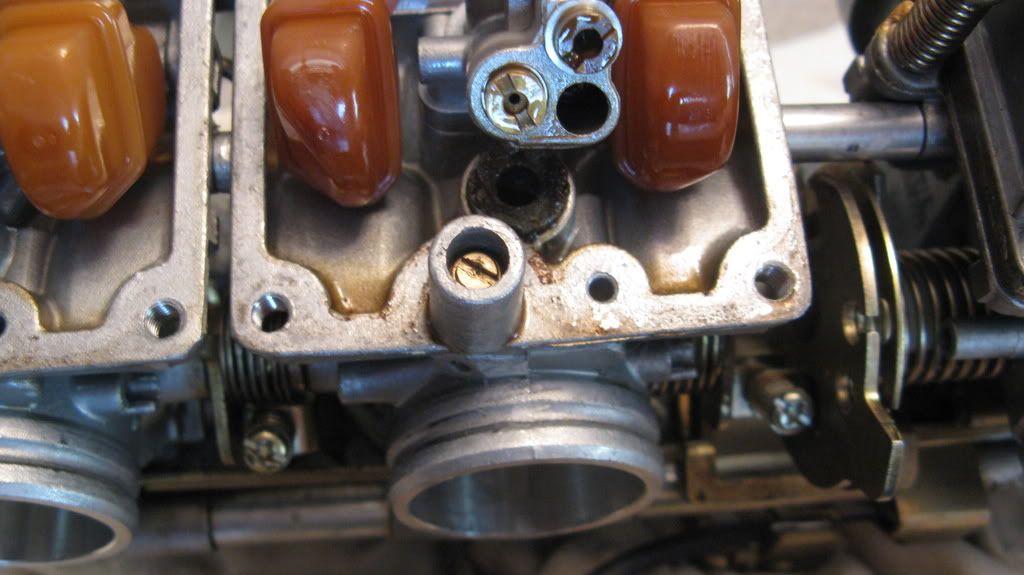
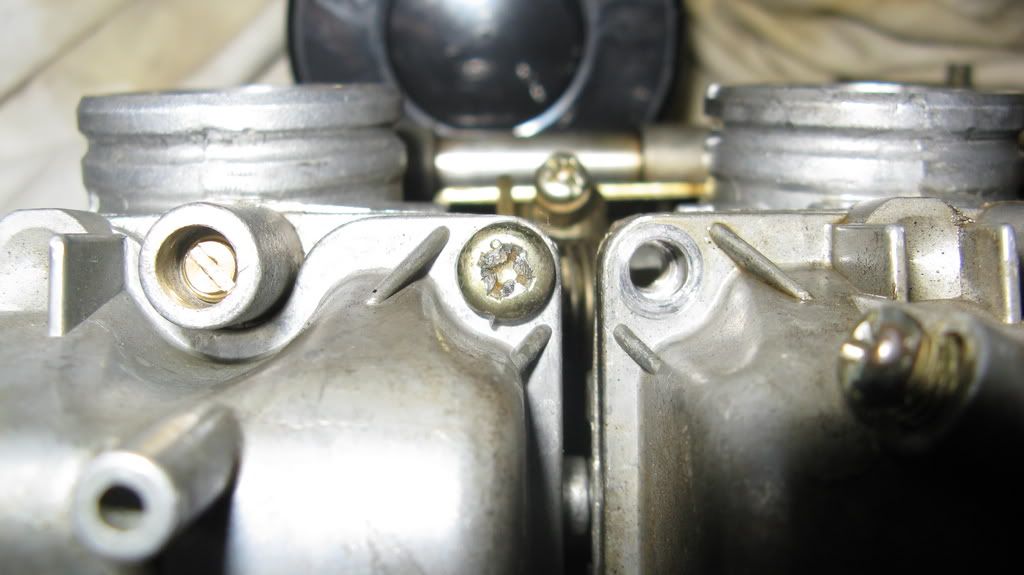
all of the screws were so tight. one of the tops of the screws stripped out. SO I could only get to two od the backs of the carbs. I was able to get to the diaphams. So I took what I could apart and cleaned with carb cleaner making sure not to get any on the rubber gaskets.
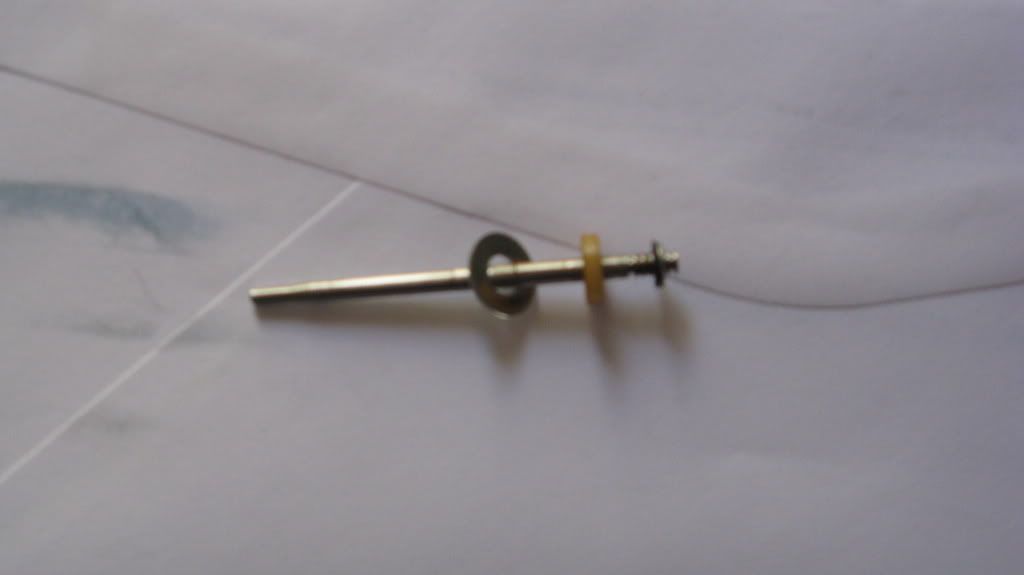
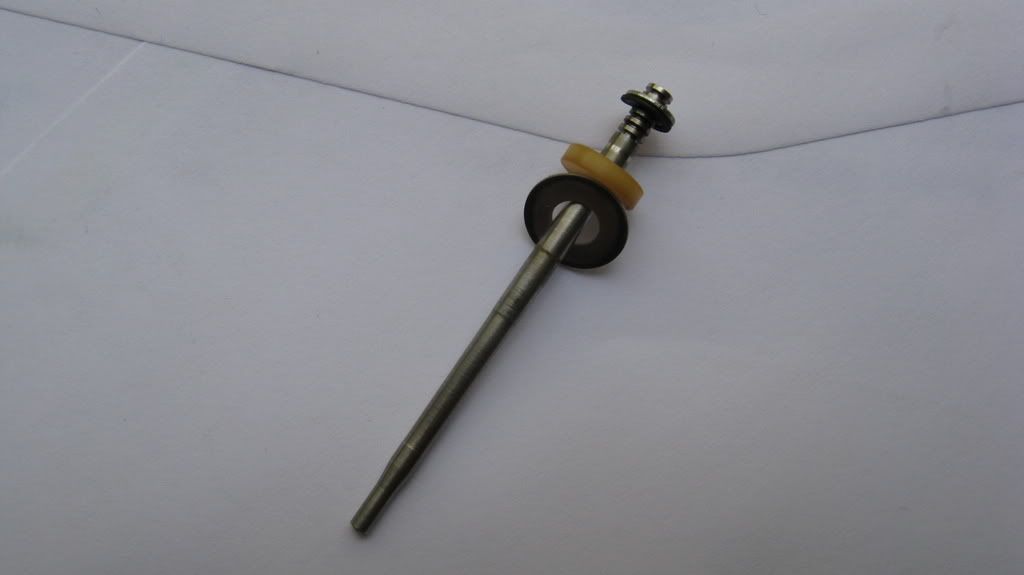
Not sure what jet kit it is, stage? maybe OME, Any Ideas from the photo? There was some junk. I cleaned and put back on and started the bike, the idle issue was almost gone. so If I can get the other side cleaned then maybe it will be 100 %
I Was thinking about the dip from auto zone and new rubber gaskets. any Idea on cost and best place to buy.
Re: Carb stuff with pics
Posted: Thu Oct 09, 2008 2:25 pm
by sweekster
Nice...from the looks of the needle I would say it's a DynoJet kit.
Re: Carb stuff with pics
Posted: Thu Oct 09, 2008 2:38 pm
by FasterThanUr
To get them screws out get a dremal with a small cutting disk and cut a slot in the screw turning it in to a flat head screw.I have done it many of times just dont cut the slot too deep or the head of the screw can break in half

Re: Carb stuff with pics
Posted: Thu Oct 09, 2008 2:43 pm
by ALMOST
Yes it does look like a dyno jet. The location of the washer, does this indicate a stage two.
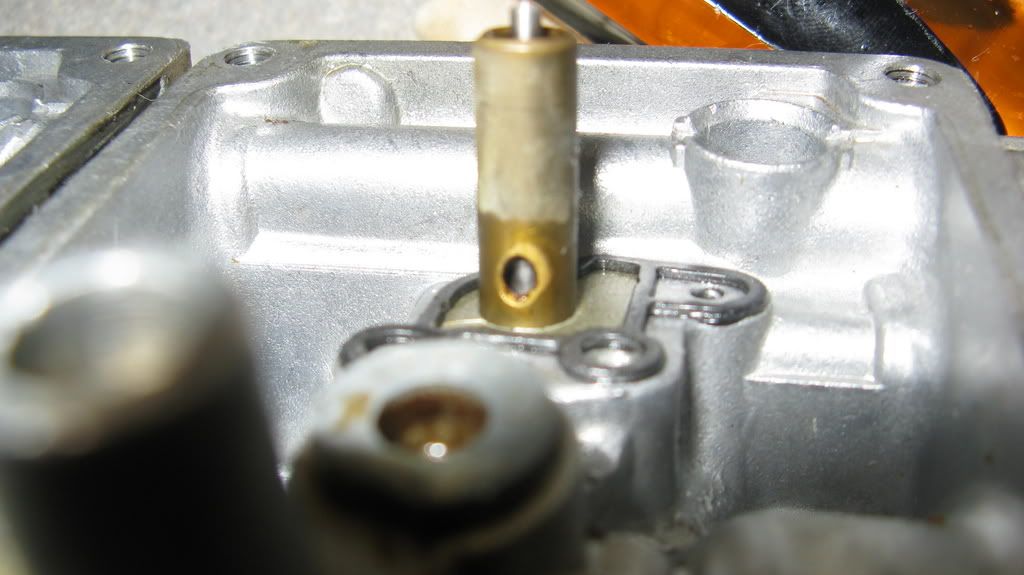
Whic ish better dynojet or factroy pro? How do you get those emulsion tubes out? they looked like they just slide out.
Re: Carb stuff with pics
Posted: Thu Oct 09, 2008 2:58 pm
by ragedigital
ALMOST wrote:Yes it does look like a dyno jet. The location of the washer, does this indicate a stage two.
Whic ish better dynojet or factroy pro? How do you get those emulsion tubes out? they looked like they just slide out.
I do believe the only difference in the Stage 1 & 3 is usually the size of the Main Jet.
In Image 1: If you have the hex screw labeld "Screw threaded into emulsion tube" removed, then the emulsion tube is free to come out.
You need to make sure that the diaphragm is out too on the other side. The tube comes out with the plastic piece surrounding it.
**These images are available in the GALLERY under FZR600 parts >> Carb Shots


Re: Carb stuff with pics
Posted: Thu Oct 09, 2008 3:10 pm
by ALMOST
Ragedigital Thanks for the pics,

,I knew there were pics of this but I could not find them. I think i was spelling emulsion tubes wrong

Do you notice a difference with the new tubes. (What type of difference in the bike running). Is it worth just replacing due to the nickel plating, so you don't have to worry about them in the near future.
Re: Carb stuff with pics
Posted: Thu Oct 09, 2008 3:32 pm
by ragedigital
ALMOST wrote:Do you notice a difference with the new tubes. (What type of difference in the bike running). Is it worth just replacing due to the nickel plating, so you don't have to worry about them in the near future.
One of the nice things about adjustable needles is that they allow you to compensate slightly for worn emulsion tubes. When the tubes wear slightly, then you can raise the clip on the needle and lean out the circuit.
However; emulsion tubes generally wear in an egg shaped pattern since the gas is being drawn down into the combustion chamber. If the tubes wore out in an evenly pattern, then you could rely more on adjusting the needles to compensate for a longer period of time.
Having new emulsion tubes simply takes "worn emulsion tubes" out of the equation when addressing the "rich" issue. I highly recommend do it if you have the $100 to spend. If you plan on selling the bike in the near future, then don't waste your money.
The nickel-plating just adds longevity I suppose. The reason I went with Factory Pro tubes is because they were cheaper for the set.
Re: Carb stuff with pics
Posted: Thu Oct 09, 2008 4:41 pm
by ALMOST
Leaning out on the needle, which direction do you move? to the end away from the the pointed end?
Re: Carb stuff with pics
Posted: Thu Oct 09, 2008 4:44 pm
by ragedigital
Here's another pic in the GALLERY that might help. It tells you which way to move the clip.

Re: Carb stuff with pics
Posted: Thu Oct 09, 2008 9:17 pm
by 95FZR600
FasterThanUr wrote:To get them screws out get a dremal with a small cutting disk and cut a slot in the screw turning it in to a flat head screw.I have done it many of times just dont cut the slot too deep or the head of the screw can break in half

Works every time!
Re: Carb stuff with pics
Posted: Thu Oct 09, 2008 9:28 pm
by haunter
ragedigital wrote:
The nickel-plating just adds longevity I suppose.
Yes, that is the point of it.......
Re: Carb stuff with pics
Posted: Wed Apr 29, 2009 9:24 pm
by FizzNation
is that how those dynojet needles go together... i think mine were in wrong. does it go washer, plastic piece then the clip??
Re: Carb stuff with pics
Posted: Wed Apr 29, 2009 10:53 pm
by ashtong63
I have a '90 400.
I had plastic, then clip, then 2 washers, then threaded plastic cap. Not sure this is RIGHT, but it's what mine had.j
I haven't played with jetting at all, but it runs alright with a small flat spot at low range.
Re: Carb stuff with pics
Posted: Wed Apr 29, 2009 11:48 pm
by reelrazor
95FZR600 wrote:FasterThanUr wrote:To get them screws out get a dremal with a small cutting disk and cut a slot in the screw turning it in to a flat head screw.I have done it many of times just dont cut the slot too deep or the head of the screw can break in half

Works every time!
Small vise grips to 'crack' any screw that resists the proper driver.
Allen screws to replace-problem eliminated.
Re: Carb stuff with pics
Posted: Thu Apr 30, 2009 8:13 am
by DEMORAL1ZE
I used a small cold chisel and knocked it in the direction of loosen. Replacements can be found at any auto parts store. They m5x.8. I find them in the liscense plate hardware. Perfect lenth and look exactly like the original......


