Carb stuff with pics WIKI MOD HELP PLZ

FZR600 Forum

Moderators: Site Director, FZR Forum Moderators

User avatar
ALMOST
50+ Posts
50+ Posts
Posts: 81
Joined: Sat May 10, 2008 4:15 pm
Location: Easton Maryland

Carb stuff with pics WIKI MOD HELP PLZ

Post by ALMOST »

Well I was still having idle issues after I replaced the fuel filter. So I decided to remove them and clean them. Ran into so problems, f***in screws.
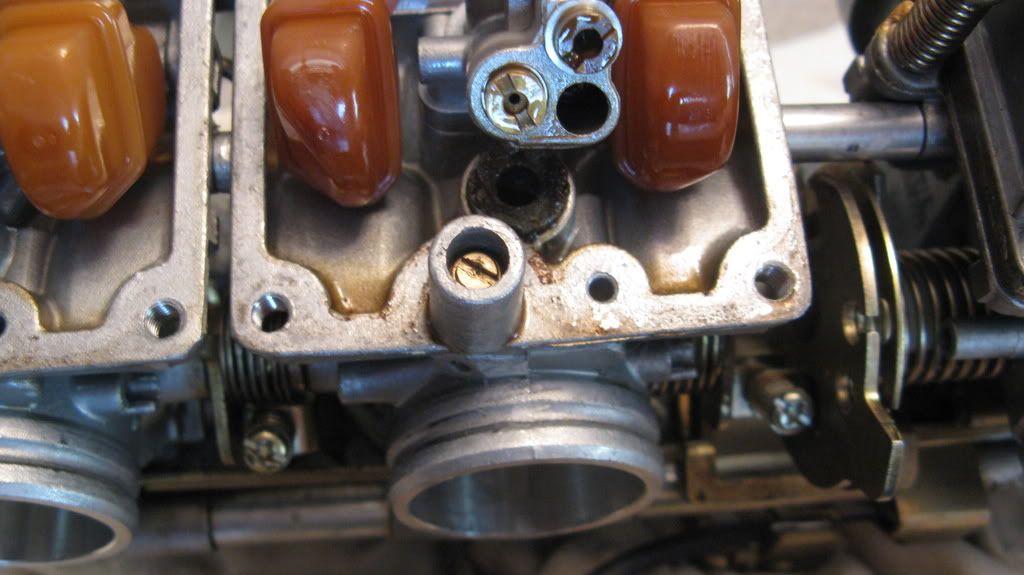
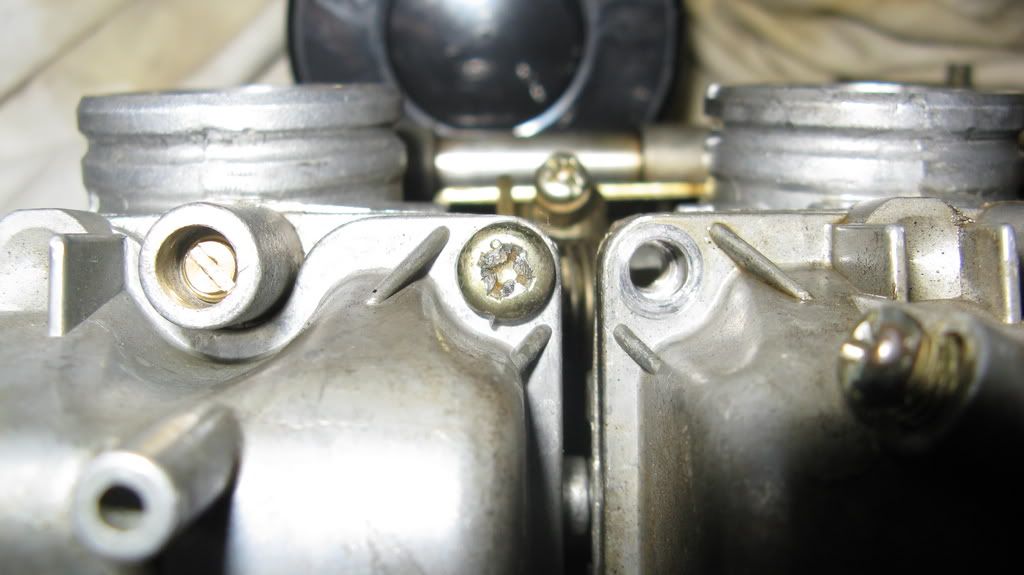
all of the screws were so tight. one of the tops of the screws stripped out. SO I could only get to two od the backs of the carbs. I was able to get to the diaphams. So I took what I could apart and cleaned with carb cleaner making sure not to get any on the rubber gaskets.

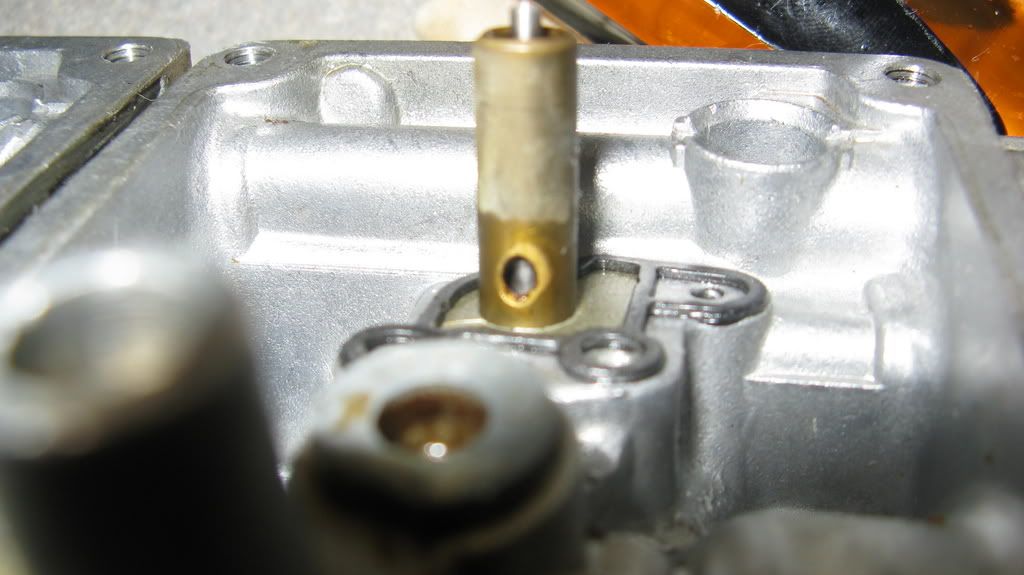
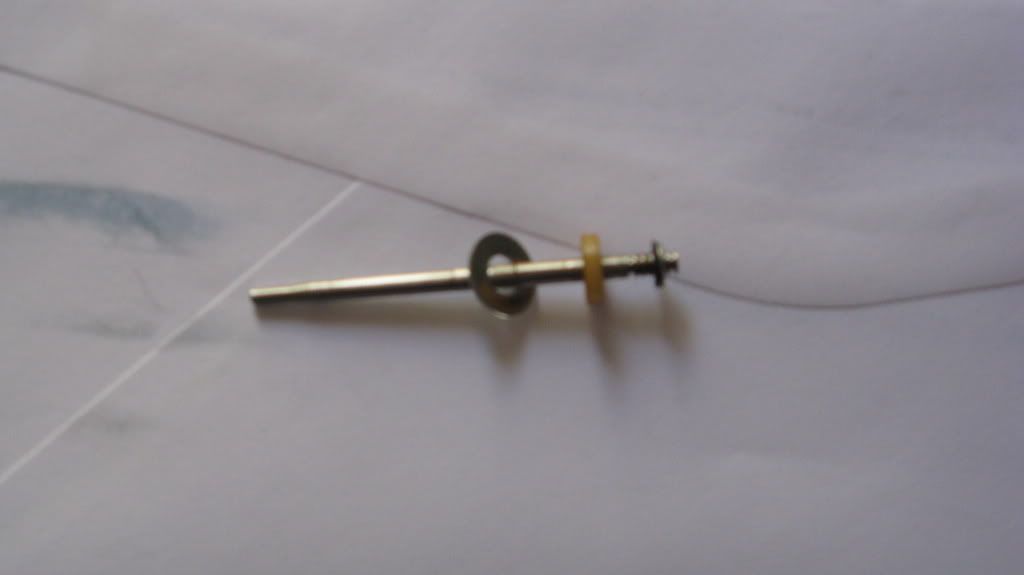
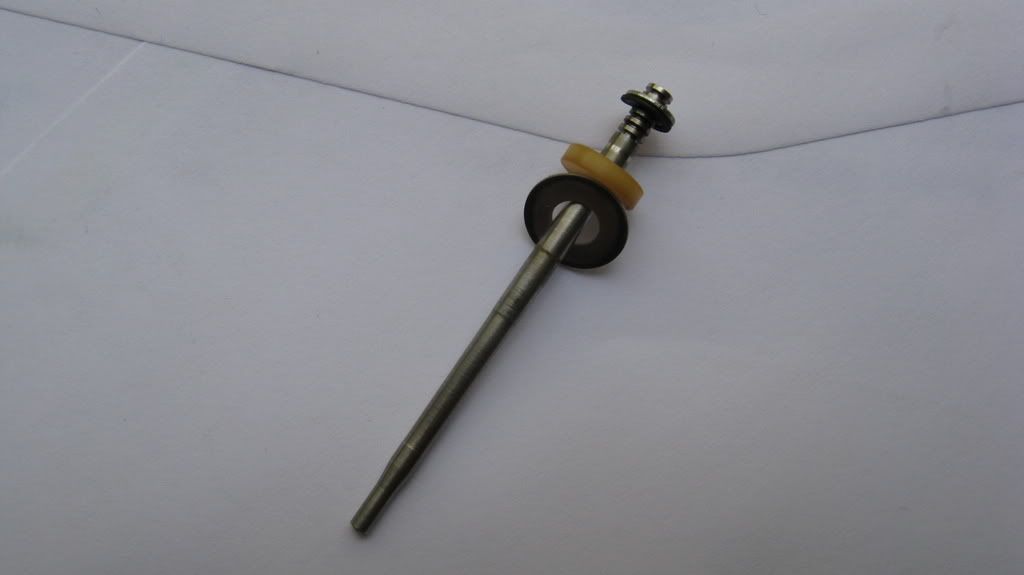
Not sure what jet kit it is, stage? maybe OME, Any Ideas from the photo? There was some junk. I cleaned and put back on and started the bike, the idle issue was almost gone. so If I can get the other side cleaned then maybe it will be 100 %

I Was thinking about the dip from auto zone and new rubber gaskets. any Idea on cost and best place to buy.
Image
Image
Image
Image
Image
FZR 600 91 D&D
sweekster
2000+ Posts
2000+ Posts
Posts: 2773
Joined: Tue May 13, 2008 10:52 am
Location: Perris, CA

Re: Carb stuff with pics

Post by sweekster »

Nice...from the looks of the needle I would say it's a DynoJet kit.
Duane...
Bike:
1994 Yamaha FZR 1000 EXUP
Factory Pro Stage 1 Jetting | K&N Filter | Corbin Seat | ProTek Keyless Gas Cap | GSXR Mirrors
My Thread
Cage:
2005 Saab 9-7x 5.3i Arc AWD

Image


THE WIKI IS YOUR FRIEND
THE SEARCH IS YOUR SIGNIFICANT OTHER
USE THEM!!
User avatar
FasterThanUr
100+ Posts
100+ Posts
Posts: 147
Joined: Sat Sep 06, 2008 11:49 pm
Location: Apple Valley,Ca

Re: Carb stuff with pics

Post by FasterThanUr »

To get them screws out get a dremal with a small cutting disk and cut a slot in the screw turning it in to a flat head screw.I have done it many of times just dont cut the slot too deep or the head of the screw can break in half :thumbsup:
Check out my wifes online stores <--------
http://www.etsy.com/shop/ThriftStoreShoppe <-----------
http://www.etsy.com/shop/EFaceDesigns?ref=si_shop<-------- And my online stores
http://www.etsy.com/shop/MadProfessorsT ... ef=si_shop <------------


90 FZR400/98 Fzr600 engine
Tom Tom GPS
05 R1 passanger pegs
03 R6 tail
O5 R6 radiator
07 R6 rear shock
97 YZF 600 carbs
02 R6 header with a moddified V&H SSR2 carbon can
Daytona stabilizer
06 GSXR600 Front End Stainless brake lines front and back
Vortex sprockets 15/49 gearing with RK 520 XSO X-Ring Chain
76 CB750 HeadLight with HID Kit


Fasterthanur's PsychopathicCreations™

I hooked my brake light switch to my throttle,so when I hit the gas everyone would slowdown and I would be gone :headbang:
User avatar
ALMOST
50+ Posts
50+ Posts
Posts: 81
Joined: Sat May 10, 2008 4:15 pm
Location: Easton Maryland

Re: Carb stuff with pics

Post by ALMOST »

Yes it does look like a dyno jet. The location of the washer, does this indicate a stage two.

Whic ish better dynojet or factroy pro? How do you get those emulsion tubes out? they looked like they just slide out.
FZR 600 91 D&D
User avatar
ragedigital
4000+ Posts
4000+ Posts
Posts: 4153
Joined: Wed May 07, 2008 9:30 am
Location: Northwest St. Louis

Re: Carb stuff with pics

Post by ragedigital »

ALMOST wrote:Yes it does look like a dyno jet. The location of the washer, does this indicate a stage two.

Whic ish better dynojet or factroy pro? How do you get those emulsion tubes out? they looked like they just slide out.
I do believe the only difference in the Stage 1 & 3 is usually the size of the Main Jet.

In Image 1: If you have the hex screw labeld "Screw threaded into emulsion tube" removed, then the emulsion tube is free to come out.

You need to make sure that the diaphragm is out too on the other side. The tube comes out with the plastic piece surrounding it.

**These images are available in the GALLERY under FZR600 parts >> Carb Shots

Image

Image

Image

Image
Thanks for joining and participating in the most "active" FZR Community on the internet!
User avatar
ALMOST
50+ Posts
50+ Posts
Posts: 81
Joined: Sat May 10, 2008 4:15 pm
Location: Easton Maryland

Re: Carb stuff with pics

Post by ALMOST »

Ragedigital Thanks for the pics, :udaman,I knew there were pics of this but I could not find them. I think i was spelling emulsion tubes wrong :duh:

Do you notice a difference with the new tubes. (What type of difference in the bike running). Is it worth just replacing due to the nickel plating, so you don't have to worry about them in the near future.
FZR 600 91 D&D
User avatar
ragedigital
4000+ Posts
4000+ Posts
Posts: 4153
Joined: Wed May 07, 2008 9:30 am
Location: Northwest St. Louis

Re: Carb stuff with pics

Post by ragedigital »

ALMOST wrote:Do you notice a difference with the new tubes. (What type of difference in the bike running). Is it worth just replacing due to the nickel plating, so you don't have to worry about them in the near future.
One of the nice things about adjustable needles is that they allow you to compensate slightly for worn emulsion tubes. When the tubes wear slightly, then you can raise the clip on the needle and lean out the circuit.

However; emulsion tubes generally wear in an egg shaped pattern since the gas is being drawn down into the combustion chamber. If the tubes wore out in an evenly pattern, then you could rely more on adjusting the needles to compensate for a longer period of time.

Having new emulsion tubes simply takes "worn emulsion tubes" out of the equation when addressing the "rich" issue. I highly recommend do it if you have the $100 to spend. If you plan on selling the bike in the near future, then don't waste your money.

The nickel-plating just adds longevity I suppose. The reason I went with Factory Pro tubes is because they were cheaper for the set.
Thanks for joining and participating in the most "active" FZR Community on the internet!
User avatar
ALMOST
50+ Posts
50+ Posts
Posts: 81
Joined: Sat May 10, 2008 4:15 pm
Location: Easton Maryland

Re: Carb stuff with pics

Post by ALMOST »

Leaning out on the needle, which direction do you move? to the end away from the the pointed end?
FZR 600 91 D&D
User avatar
ragedigital
4000+ Posts
4000+ Posts
Posts: 4153
Joined: Wed May 07, 2008 9:30 am
Location: Northwest St. Louis

Re: Carb stuff with pics

Post by ragedigital »

Here's another pic in the GALLERY that might help. It tells you which way to move the clip.

Image
Thanks for joining and participating in the most "active" FZR Community on the internet!
User avatar
95FZR600
2000+ Posts
2000+ Posts
Posts: 2972
Joined: Sat May 31, 2008 10:41 pm
Location: Kennesaw, Georgia

Re: Carb stuff with pics

Post by 95FZR600 »

FasterThanUr wrote:To get them screws out get a dremal with a small cutting disk and cut a slot in the screw turning it in to a flat head screw.I have done it many of times just dont cut the slot too deep or the head of the screw can break in half :thumbsup:

Works every time!
2002 Yamaha R6-----2003 Yamaha R6

Image
User avatar
haunter
2000+ Posts
2000+ Posts
Posts: 2266
Joined: Fri May 09, 2008 9:17 am
Location: Urbana, Il USA
Contact:

Re: Carb stuff with pics

Post by haunter »

ragedigital wrote:
The nickel-plating just adds longevity I suppose.
Yes, that is the point of it.......
FizzNation
50+ Posts
50+ Posts
Posts: 66
Joined: Tue Sep 30, 2008 5:53 pm
Location: Hudson, WI
Contact:

Re: Carb stuff with pics

Post by FizzNation »

is that how those dynojet needles go together... i think mine were in wrong. does it go washer, plastic piece then the clip??
User avatar
ashtong63
Site Newbie
Posts: 32
Joined: Tue Mar 24, 2009 1:27 pm

Re: Carb stuff with pics

Post by ashtong63 »

I have a '90 400.

I had plastic, then clip, then 2 washers, then threaded plastic cap. Not sure this is RIGHT, but it's what mine had.j

I haven't played with jetting at all, but it runs alright with a small flat spot at low range.
User avatar
reelrazor
Wrench
Wrench
Posts: 1658
Joined: Sun Oct 05, 2008 8:19 am

Re: Carb stuff with pics

Post by reelrazor »

95FZR600 wrote:
FasterThanUr wrote:To get them screws out get a dremal with a small cutting disk and cut a slot in the screw turning it in to a flat head screw.I have done it many of times just dont cut the slot too deep or the head of the screw can break in half :thumbsup:

Works every time!
Small vise grips to 'crack' any screw that resists the proper driver.
Allen screws to replace-problem eliminated.
http://www.michiganmobileservice.com/


Image

“A common mistake that people make when trying to design something completely foolproof is to underestimate the ingenuity of complete fools.”-Douglas Adams

http://www.youtube.com/user/reelrazor
User avatar
DEMORAL1ZE
100+ Posts
100+ Posts
Posts: 141
Joined: Mon Oct 13, 2008 10:32 am
Location: SOUTHEAST MISSOURI--------LAND OF THE FREE, HOME OF THE BRAVE

Re: Carb stuff with pics

Post by DEMORAL1ZE »

I used a small cold chisel and knocked it in the direction of loosen. Replacements can be found at any auto parts store. They m5x.8. I find them in the liscense plate hardware. Perfect lenth and look exactly like the original...... my2cents
YOU CAN TWIST PERCEPTION BUT REALITY WON'T BUDGE
Post Reply