I guess to kick things off I should tell a little about the back-story of the motorcycle. The owner before the Previous owner (PPO) laid the motorcycle down for one reason or another on the right side. This destroyed the right fairing, bent the Headlight/Fairing stay, ground a hole in the starter cover, and smashed the instrument cluster. When the hole was ground in the starter cover it allowed 90% of the engine oil to be returned to the ground from which it came.
From there the PPO began to part out the bike. He managed to sell the exhaust off the bike before he sold it to the Previous Owner (PO). The Previous owner was one of those guys who just searches Craigslist all day long for bikes that are sold cheap enough to part out. Then he parts them out to make a profit. He bought this one because he needed the CDI/CTI ignition computer box for his own FZR. He also used the Main Relay and Flasher Unit. He began taking the bike apart but I caught it on CL before he sold any parts.

I picked the bike up off Craigslist Chicago for $500 which is a fair deal IMO.
Here we go

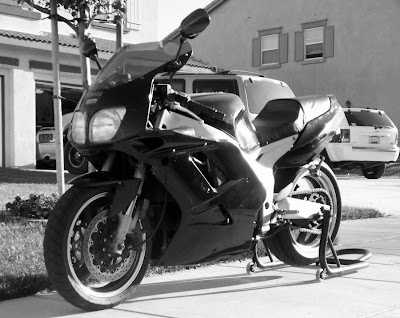
Starting out, this is what I was looking at on Craigslist


My plans are to
1. See if the bike runs
2. If the bike runs then Fix it up
2a. If the bike doesn't run my Seca will see some major upgrades.
3. Make a decision, keep it or sell/trade it :cruise:
Here's a better look at the bike and the problems it came with:


The rear wheel was taken off and whoever took it off didn't put the rear part back on the axle. I am not sure why

The missing electrical components as mentioned before, CDI box, the main Relay, and the Flasher unit:


Broken starter peanut cover on the right side:

Missing Exhaust and Header:

The bike also has a mess of parts on the front end that are either missing or broken. And all the cosmetic issues and missing fairing pieces.
But there is hope there are a few pieces that came with the bike that are savable:

More updates will come soon, we will see if we can get the bike up and running and back on the road. Im pretty excited about this project.


 2013
2013 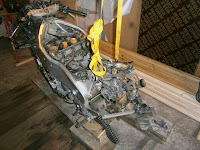 2014
2014