Page 1 of 3
Genesis rebuild
Posted: Fri Nov 23, 2012 11:53 pm
by Conrad
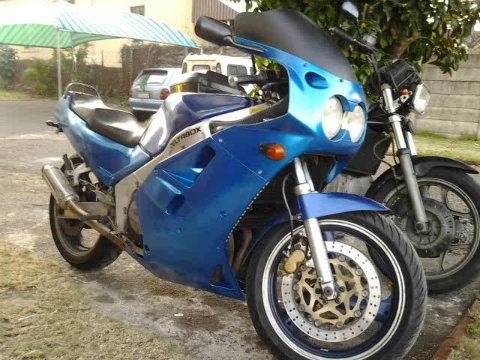
I'm starting this to document the rebuild of my new bike. So what better place to start than to show the condition its in currently:
Please note the tasteful application of led strips on the leading edge of the fairing:
More led lighting at the rear:
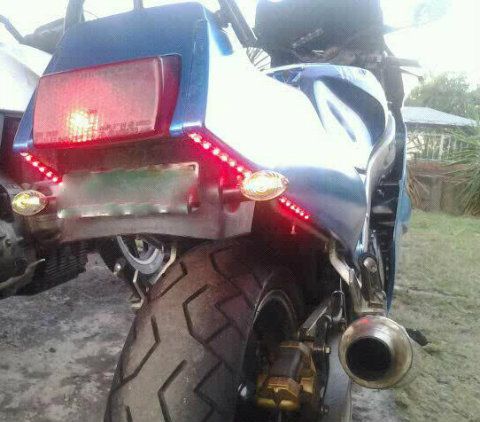
Whats not seen in the pics is that the park light globes were changed to led's that change colors, between red, blue, green, orange, yellow and green. The frikken thing looked like a Christmas tree on wheels

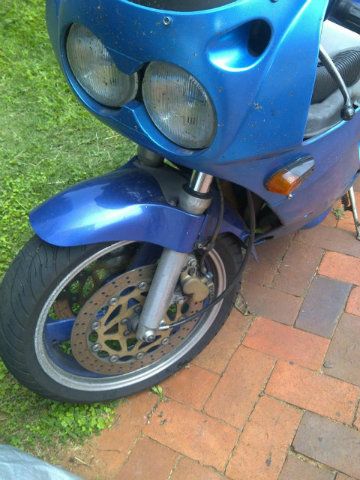
What used to be polished rims, now gathering rust:
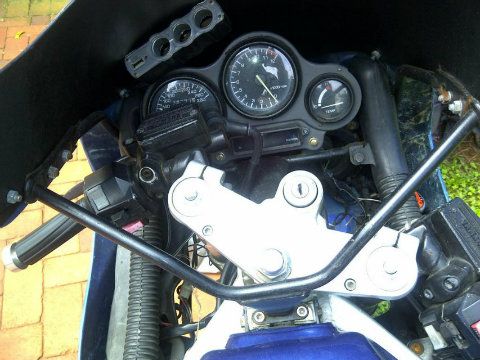
I'm not sure exactly what the po was powering, but he had fitted multi-plug for charging items. Note also the untidy wiring, various rusty items and screen that's been repaired by fiberglass:
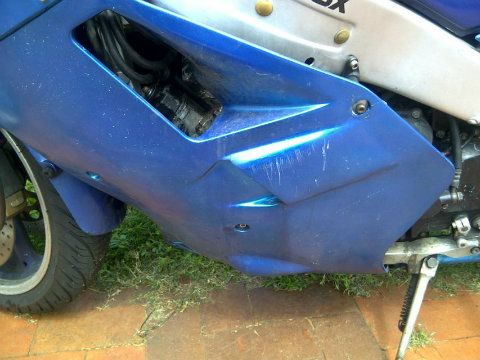
Some road rash on the fairing:
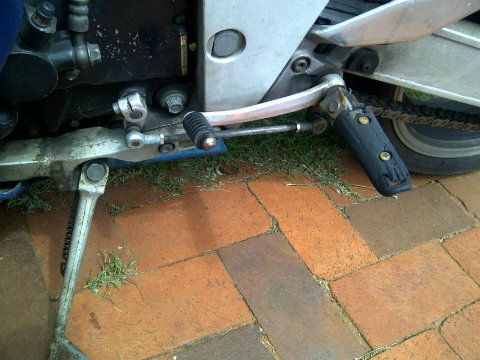
Bent footpeg and shift lever. There is also some rust on the sub-frame:
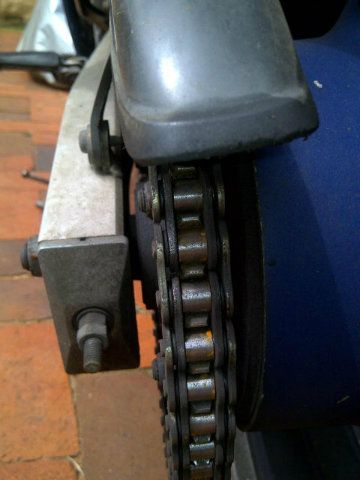
Relatively new chain that is starting to rust as it hasn't been kept lubricated:
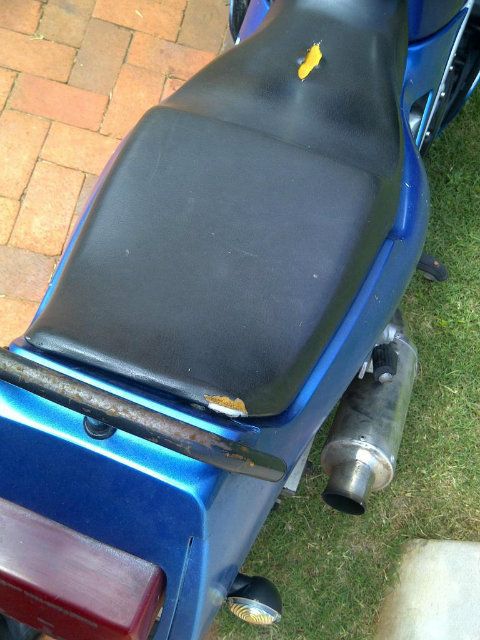
Faded taillight, rusted grab rail and torn seat:
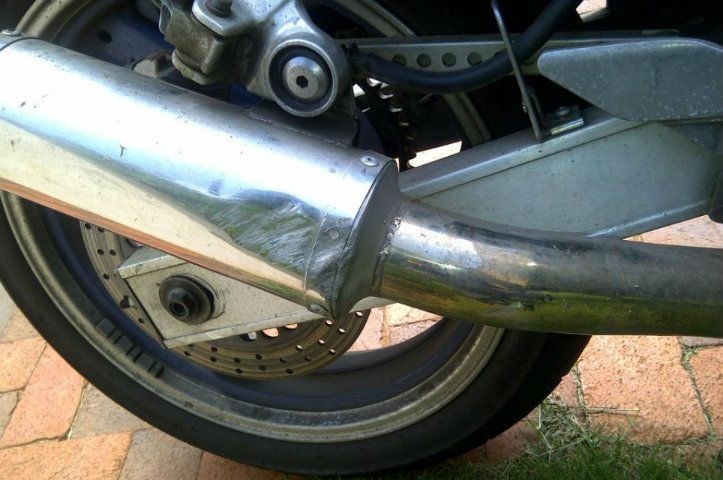
Dented and scratched exhaust:
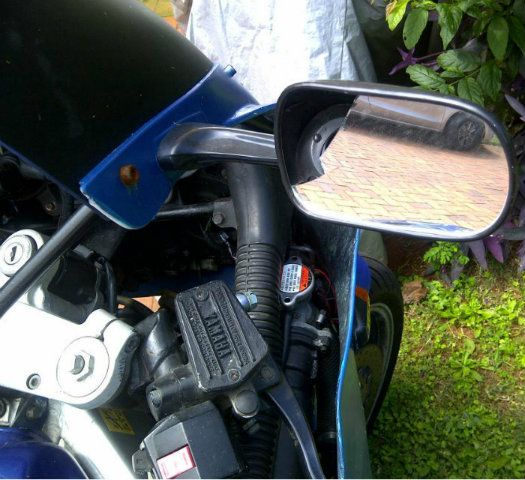
Broken vfr400 mirrors:
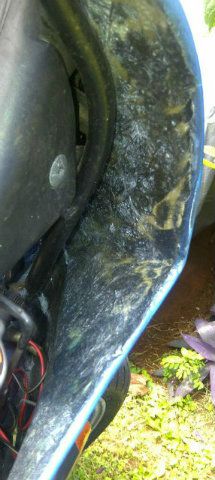
Fiberglass repairs to the fairing:
I'm going to be starting with the mechanical's first and when those are sorted moving on to the cosmetics. I've already had the radiator welded and pressure tested, as it was leaking when I bought the bike, next up will be to figure out why the fan isn't switching on.
Hope you enjoy the show
Conrad
Re: Genesis rebuild
Posted: Sat Nov 24, 2012 1:29 am
by GreyImport
A rusty christmas tree

Sounds like u have the right plan ....unfortunately when the cosmetics are neglected the mechanicals are usually the same!
looks in pretty good shape in general though.
Good luck with it

Re: Genesis rebuild
Posted: Sat Nov 24, 2012 12:20 pm
by _Will_
many people have started with less so you're not in horrible shape. I used to be overly concerned with the cosmetic details of mine until I realized I was spending perfectly good riding days painting things.
Re: Genesis rebuild
Posted: Sat Nov 24, 2012 1:06 pm
by Conrad
Hi will,
I have to agree I would rather be riding than painting, but by the same token I do want something that looks presentable.
It definetly won't be a show bike, but I am planning a custom spray job after I've made it reliable.
Re: Genesis rebuild
Posted: Sat Dec 15, 2012 7:19 am
by Conrad
We are having good riding weather at the moment and I'm having lots of fun riding the bike. This means that its going to be a while before I actually get around to rebuilding the bike (Its possibly even going to be slower than the slowest build thread

).
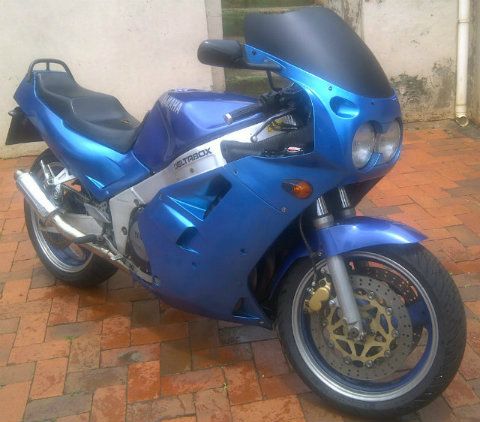
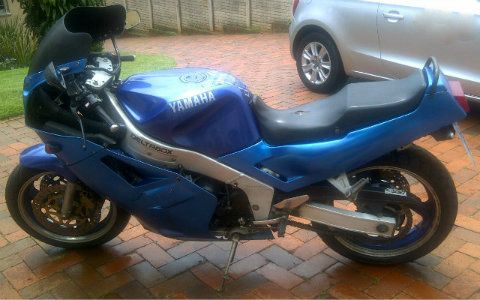
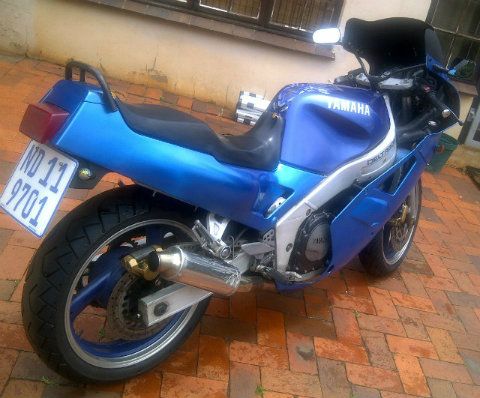
So for now my rebuild consists of giving her a good wash and lubing the chain:
Re: Genesis rebuild
Posted: Sat Dec 15, 2012 8:02 am
by Conrad
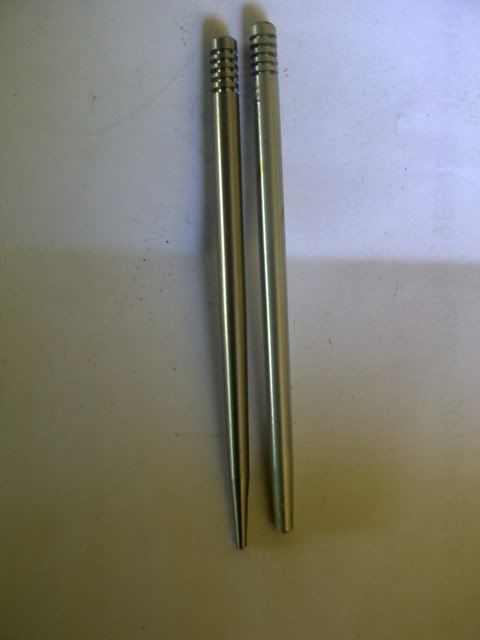
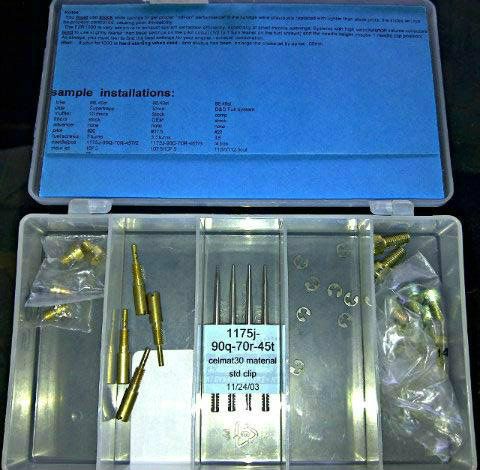
When you are riding at part throttle, and try to accelerate with revs are below 5000, the bike bogs down. I can only describe the feeling as something akin to a turtle trying to run through peanut butter. I ordered the stage 1 factory pro carb kit, with the idea being that I would rebuild the carbs and make the bike more rideable, till I get around to tearing it down.
Silly me, never read the description properly. I never realized that it only includes the needles and not the emulsion tubes. I'm going to have to wait for these to arrive before I attempt the carb rebuild:
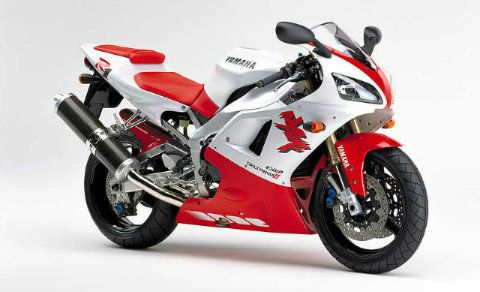
In the meantime Ive decided what colour scheme I'm going for. Red and white as seen on the gen 1 R1's:
Some of the other goodies I ordered for when I do rebuild her have started arriving.
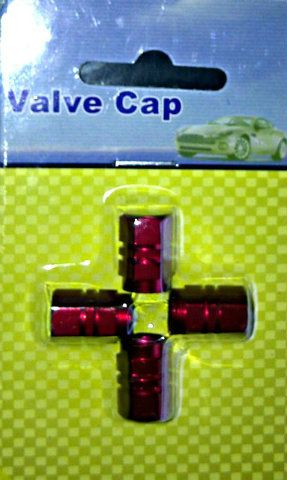
Some nice valve caps:
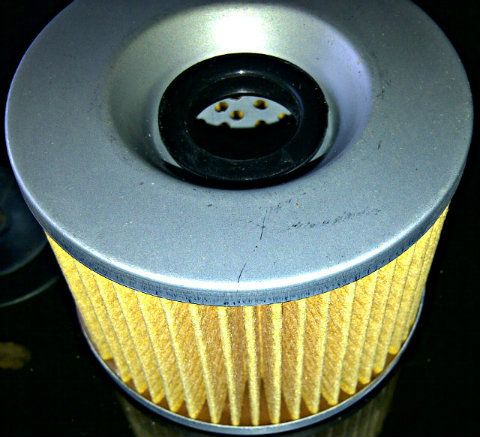
New oil filter:
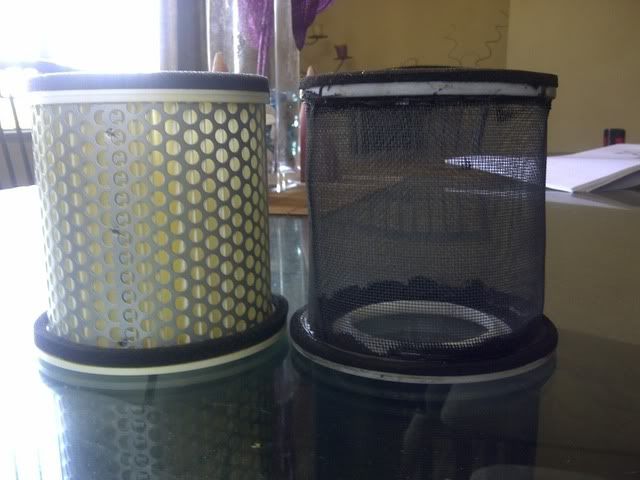
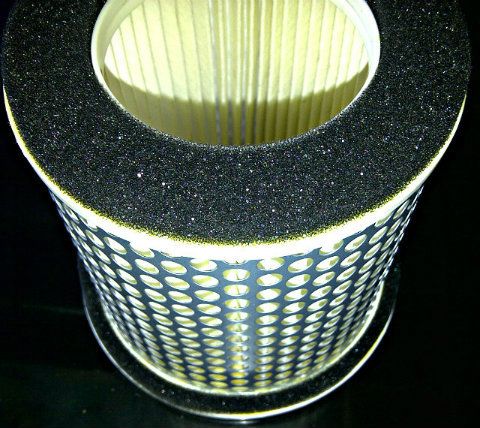
New air filter:
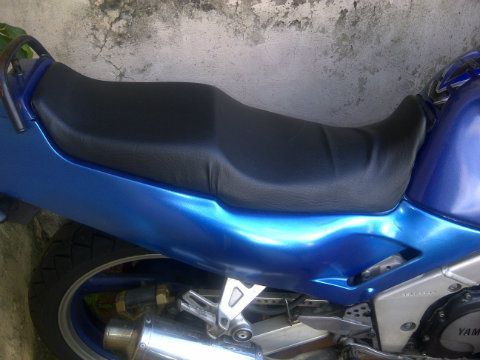
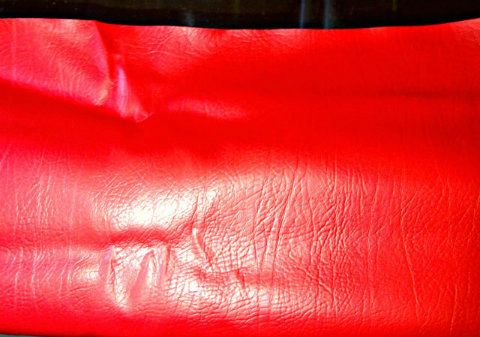
Vinyl to recover the seat:
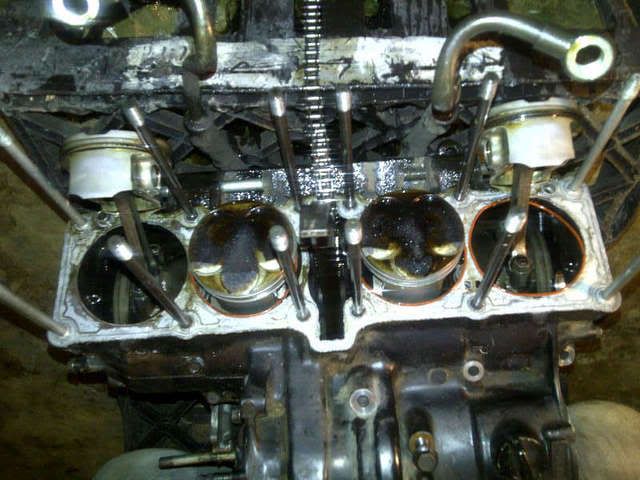
Hone for when I change the rings:

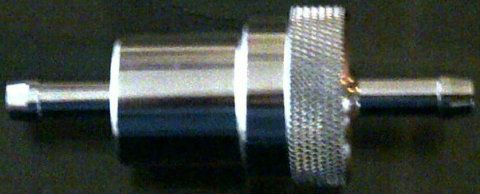
New fuel filter:
Tax disk holder:
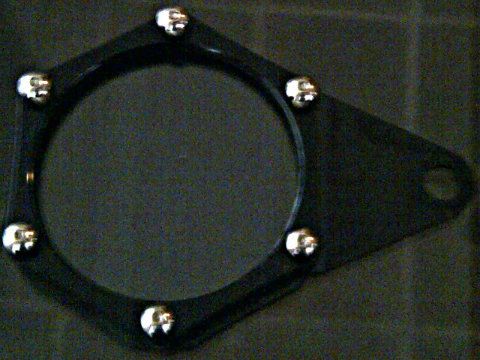
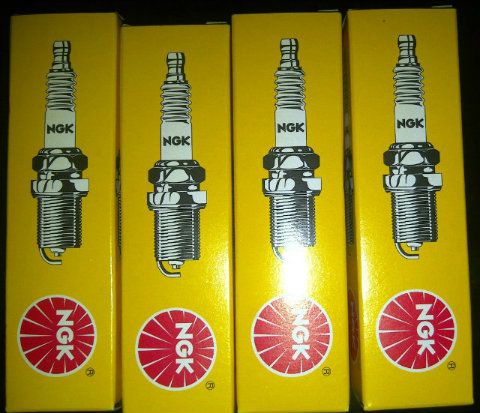
New plugs:
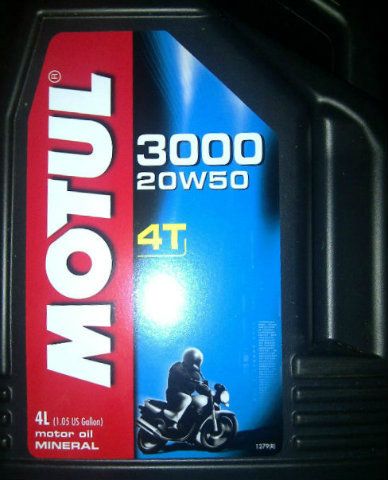
Fresh oil:
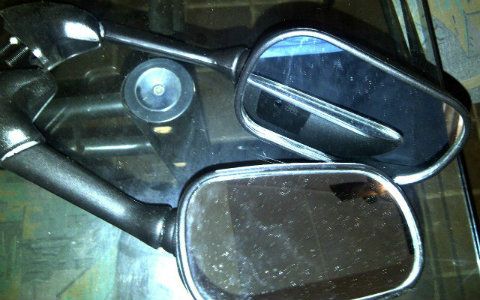
New mirrors:
New pedal rubber:
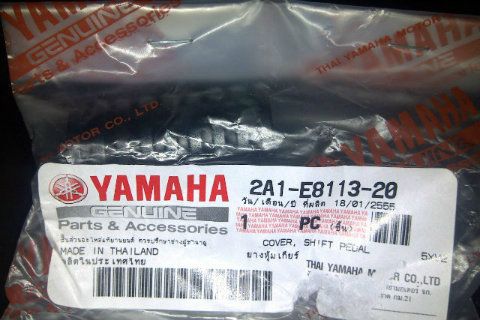
New fork seals:
New clutch springs:
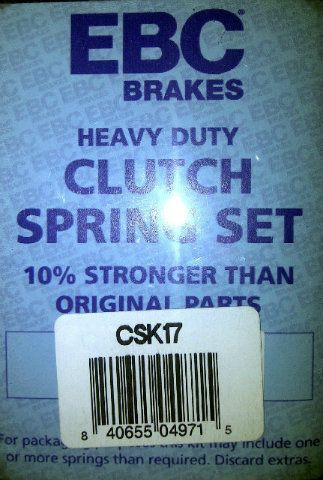
New wheel bearings:
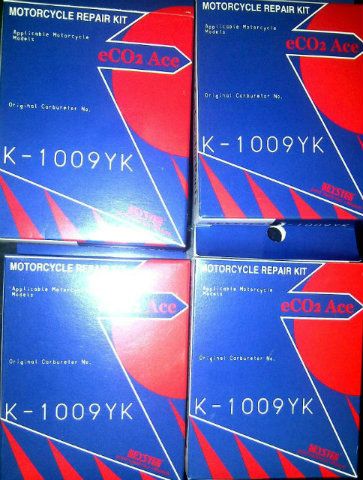
New float bowl gaskets and needle valve:
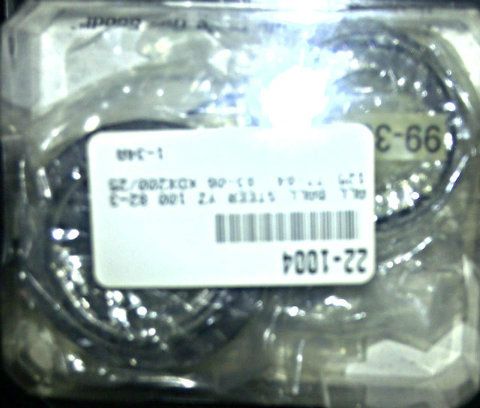
New steering stem bearings:
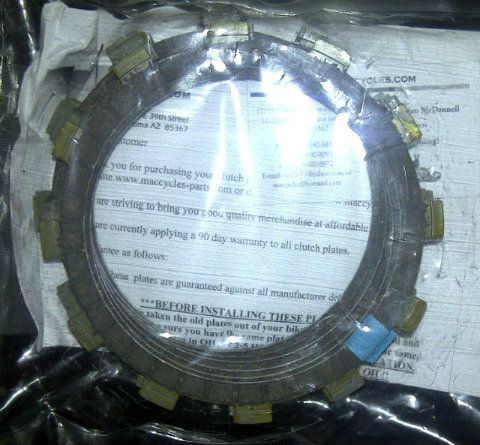
New clutch plates:
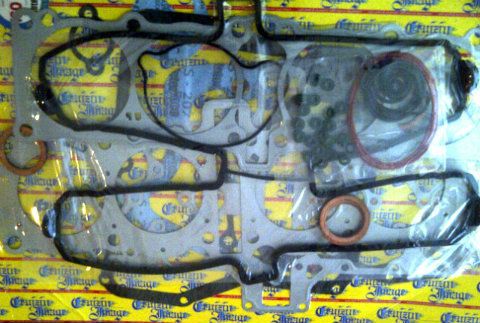
Full gasket set:
Re: Genesis rebuild
Posted: Sun Feb 24, 2013 7:09 am
by Conrad
Time for a long overdue update. A couple of the other parts I ordered arrived:
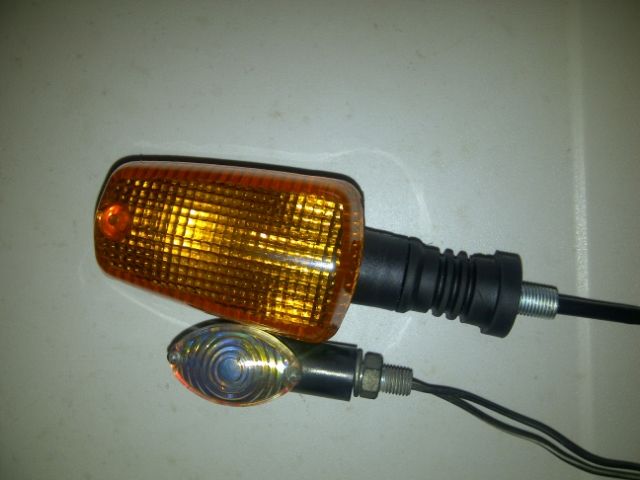
These are the new eom style indicators I bought to replace those silly little oval ones:
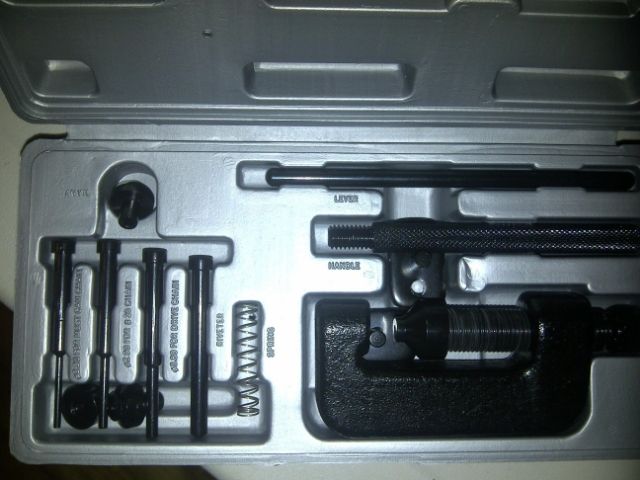
A chain riverter:
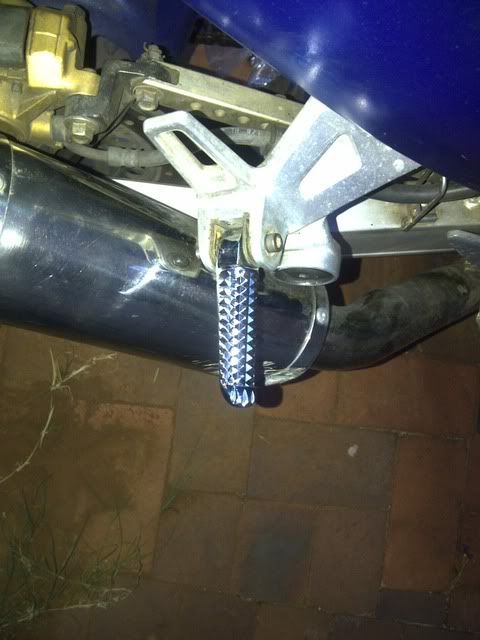
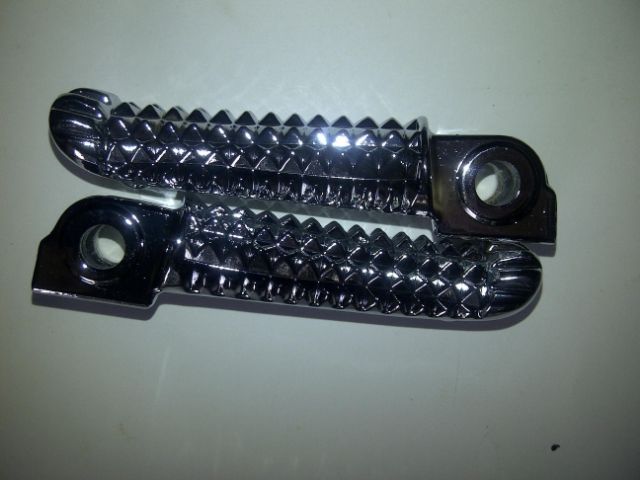
Some new foot pegs:
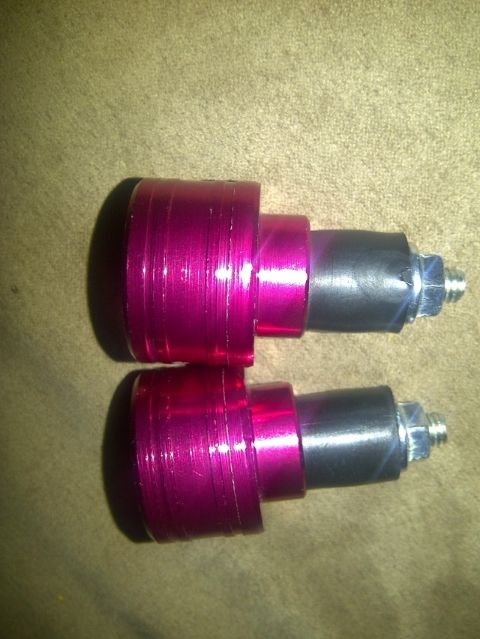
Bar ends:
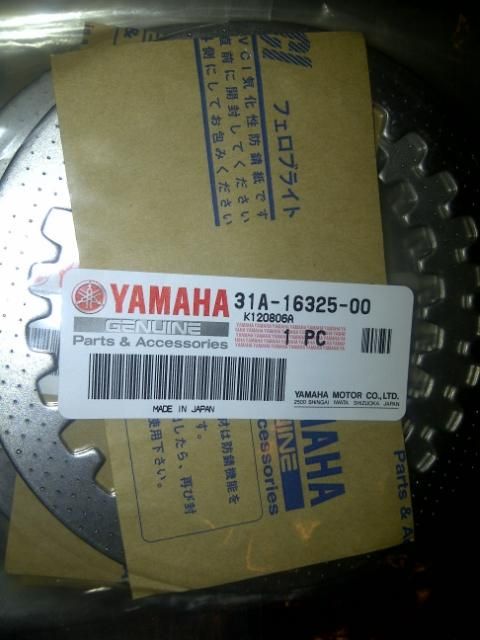
Clutch plates:
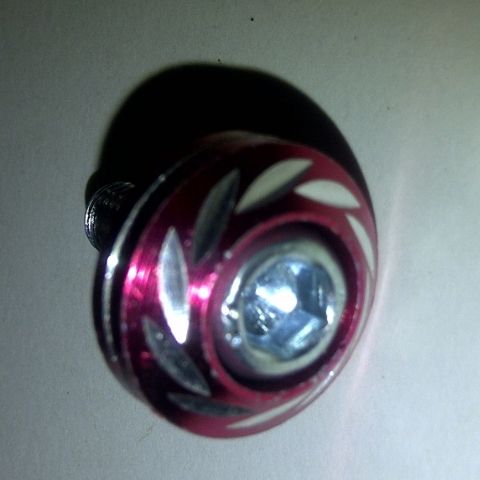
Some fairing bolts:
And of course, it's always interesting receiving parts from china, you never know what the instructions will say:

Re: Genesis rebuild
Posted: Sun Feb 24, 2013 8:14 am
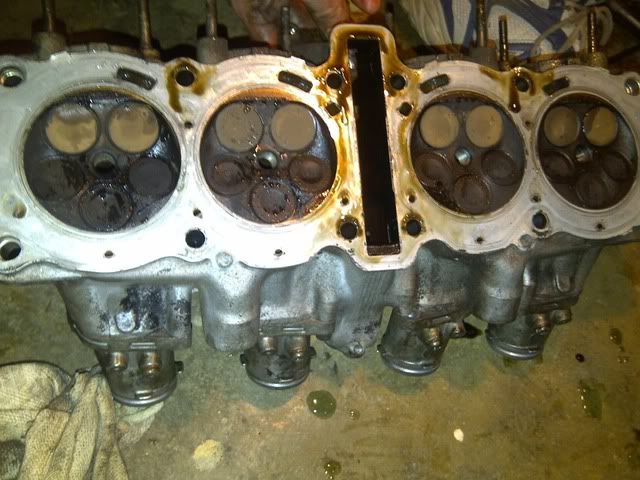
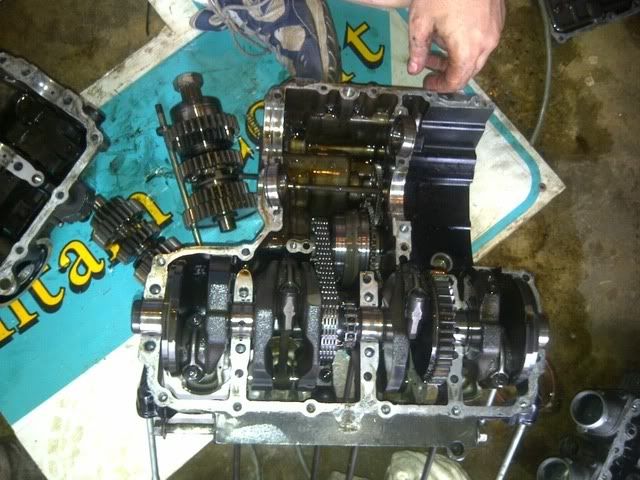
by Conrad
Re: Genesis rebuild
Posted: Sun Feb 24, 2013 6:10 pm
by GreyImport
Looks like u are making good progress there

What was the problem with 3rd gear?
And u havnt checked the skin with a small dish yet?

Re: Genesis rebuild
Posted: Sun Feb 24, 2013 11:20 pm
by Conrad
It would pop out of gear every time you opened the throttle in 3rd, so I had the gears undercut
Re: Genesis rebuild
Posted: Mon Feb 25, 2013 12:56 pm
by Clanky
Looking like its going to be very tidy bike when it's all finsihed. It will be very nice for you to just to get it up and running for now after all the work you've put into it so far

Can you tell me where you got the OEM style indicators from? I need one just like this to get my 400 through an MOT (it will match the good one that's still attached).
Re: Genesis rebuild
Posted: Mon Feb 25, 2013 3:45 pm
by sweekster
Re: Genesis rebuild
Posted: Tue Feb 26, 2013 12:35 am
by Conrad
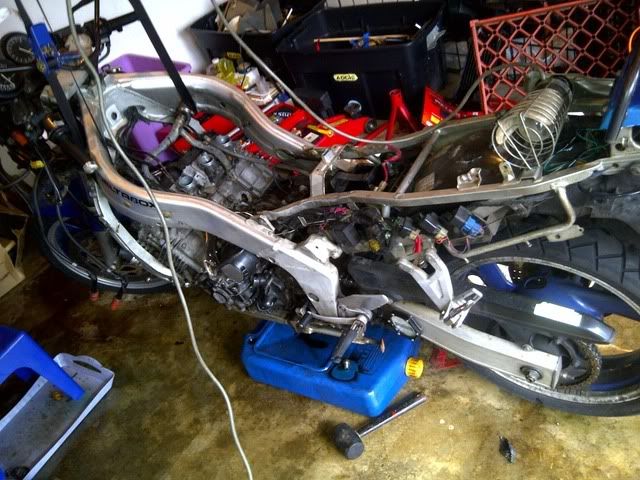
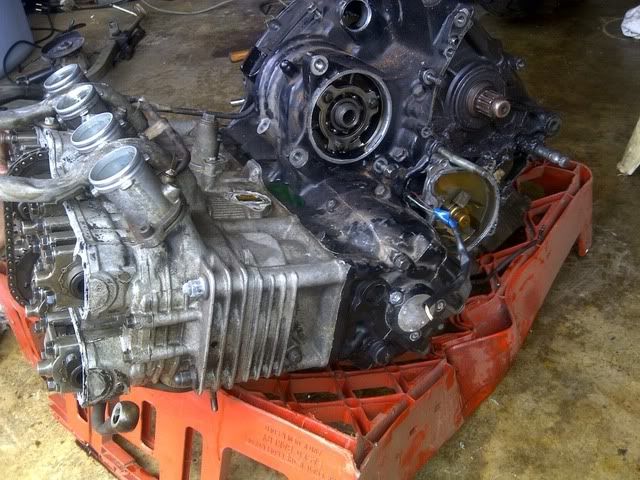
I really am looking forward to riding her again, but there are still a few things that I want to get done while the engines out. On the list is painting the frame and swingarm, chainging the head, swingarm and wheel bearings.
I'm hoping it will be rideable within the next 2 weeks.
Wrt the indicators, I got the set off ebay. I must say they not bad quality at all:
http://www.ebay.com/itm/Rear-Turn-Signa ... 4aa9d6a860
Re: Genesis rebuild
Posted: Tue Feb 26, 2013 5:17 am
by KaspenOne
looks nice, to do the seat its nice to have a heat gun it helps make the vinly more flexible , just dont sit the heat gun it to long, or even a blow dryer can do the job you can still fix the wrinkles..
Re: Genesis rebuild
Posted: Sat Mar 02, 2013 12:15 pm
by Clanky
Hi Conrad,
Thanks for the lead on the indicators (they're a perfect match for mine).
Good luck with the rest of the build.


